Blog

HOUSE RENOVATION PROJECT – PART 13, BATHROOM TILES, DOWNSTAIRS SHOWER ROOM.

I have finally choosen the tiles for the bathrooms!

For the downstairs shower room I have choosen a grey marble called ‘Grapite’, it has beautiful white veining and fossils, which add depth and texture to the tiles!

We bought these from a local stone Merchants from a nearby town, Bercetto.

The owner is a lovely guy who gave us a great deal because a fussy client of his didn’t like the fossils in the stone (part of it’s natuarl beauty)!

So he asked for all the marble tiles withs pieces of fossil showing to be removed from his order. This left a surplus of tiles with lots of fossil in (which I love)! So we were able to get marble which is normally €120 a square metre for much less!

One happy bunny!! ie, me!


 TILES FOR DOWNSTAIRS SHOWER ROOM

Tiles downstairs shower room  95kb   numbers

  1) Bathroom image.   2) Shower room wall tile.  3) Floor tile by Flaviker eco ceramics.

The Grapite marble (Graphite marble in English) it has beautiful white veining.

This will go on the bathroom walls. It may also go underneath the white counter

top sink that sits on top of the wall hung basin unit.

But that is yet to be finalised.

????

GRAPITE MARBLE.


Some of the fossil detail can be seen in the marble.

IMG_1696 - Version 2

Fossil details. The colour will be richer and darker than this, once the tiling is finished.


 We are using this floor tile throughout the ground floor and

out onto the portico to give a sense of continuity.

IMG_7602

Downstairs shower room, floor tile.


Do you like natural stones – marble, granite and limestone or do you prefer porcelain or ceramic?

HOUSE RENOVATION PROJECT – PART 12, STAIRS AND HALL.

The stairs were finished a little while ago, for ages we had to climb up the scaffolding which is really high at the front of the house.

No problem for the fearless builders and Rick but as I’m not good with heights it was hard!

No such worries now as the stairs are in, which makes such a difference, as access is so much easier.

As I’m going for a modern look I wanted concrete stairs with a glass balustrade.

These were the stairs and the shape that I wanted.

staircase Contemporary-Duplex-Penthouse-Intrior-redesign-concrete-stairs-and-funy-furniture-12

The ones that I wanted!!


But with budget etc., I have ended up with something more like this (below)!

These stairs are similar in finish to how ours will be.
Still achieving the same type of look, but not quite as originally planned. 
Oh well sometimes we have to compromise!

glass balustrade951299b9c2faa65f10928c5c2e00c675

Ours will look similar to this but with either stone, wood or marble on the treads.


Before the stairs went up we had to climb up the outside scaffolding! Being the wuss that I am I was petrified (I’m afraid of heights)!!

It’s a long way up! See the ladder between the metal levels one and two!

IMG_1553

See the metal ladder near the top for getting into the first floor!


It’s a long drop down!!

IMG_1507

Don’t look down!

Stairs go up, at last.

In Italy the builders are very stylish, they wear designer jeans!

In England it would be joggers and a builders bum!! Charming!

IMG_0094

Stylish builders! The stairs going up!


IMG_0112

What a relief.


IMG_0100

The luxury of walking up stairs!!


IMG_0106

Me and Robbie on our first walk up the stairs, a great moment indeed!


The next decision is what to put on the stair risers ? wood, concrete, tiles or stone or marble

What would you put?


HOUSE RENOVATION PROJECT – PART 11, FLOOR AND FIREPLACE TILES!

Things are starting to pick up with the build and this week the electrician has been in working with Rick and the wiring is almost finished. These two have been working in the snow and it’s really cold up at the house, so it’s medals all round to these hardy men!

The plumbers have got as far as they can and hopefully the builders are coming back next week to finish the next phase, which is putting in window frames and doing the internal render.

We also have a finish date – ‘yeee harrr’!!

It could be two months if everything gets done on time. Depending on the weather for drying times of plaster, paint etc., but this date may extend to three months depending on these factors!

I’m just happy and keep that date in my mind!! Soon all the fun stuff starts of putting it all together and for that I can’t wait!

The floor tiles have now been made and we are waiting for them to be delivered to our supplier.

As you can see we have chosen a soft grey neutral palette.

We have decided to use one tile for all of the upstairs areas and a different tile for all of the downstairs areas, to keep a sense of flow and openess to the spaces.

The upstairs floor tiles are pale grey and are called ‘Mia’. They are made from porcelain but have the look of concrete.

The format that we are using is a large square 60cm x 60cm layed in a regular pattern, (not brick or diagional pattern which is very popular here)!

The downstairs tile is called ‘Forward’ and is a textured tile that looks like natural stone but is also made from porcelain. So these tiles are really strong and hardwearing.

We are also going for the large 60cm x 60cm format, laid in a square pattern.

 UPSTAIRS TILES

pxl editor  mood board tiles 6th!

   All tile images on this moodboard are from Progetto Baucer.

Close up of upstairs tile ‘Mia’.

IMG_7606

UPSTAIRS TILE.


DOWNSTAIRS FLOOR AND FOREPLACE TILES 

rsz_floor_tiles_downstairs__new_house_2_401kb


 Images on this moodboard are – tiles, Flaviker,

fireplace image decoist.com.

Close up of downstairs tile ‘Forward’.

IMG_7602

DOWNSTAIRS TILE.


The downstairs tile comes in a few designs, to replicate the look of natural stone.

IMG_7661 - Version 2

DESIGNS OF DOWNSTAIRS TILE.


This is the fireplace tile which is made of quartzite slate. The mixture of colours and textures makes it a beautiful finish!

IMG_6248 - Version 2

QUARTZITE SLATE FIREPLACE TILE.


Choices of bathroom wall and  floor tiles coming soon!

Which tiles do you like? Do you prefer natural stone?


HOUSE RENOVATION PROJECT – PART 10, ENTRANCE HALL.

The entrance for the house is at the back of the house not at the front, slightly topsy turvey I know but this was how it was when we bought it. And we wanted to keep it that way.

We have kept the entrance hall more or less the same. The only change that we have made is to move the front door forward to the front of the porch. This gives us more space to bring the stairs down into the entrance hall from upstairs. As the ceilings are quite tall ( 3.2m), we need a lot of stairs.

From this hallway we have three doors which are for the downstairs shower room, laundry room and stairs down to the cantina. The other openings are for the sitting room and the dining room.


This is the entrance hall. The half wall behind the fire extinguisher is where the front door used to be. We are bringing out the front door to the front edge of the old porch this will give us another few feet.

IMG_0008


This is a view of the entrance hall from the sitting room! You can see the lads hard at work knocking down the wall where the old front door sat.

IMG_0005


You can see the opening at the top where the stairs will go! Hooray at last!! No more risking life and limb on the scaffolding!

IMG_0002


We are having a large front door with a frosted glass panel to one side, this will enable privacy but still keep the space nice and light.


This is the like the wooden door that I wanted………

But for various reasons like availability, practicality and price the “c” word comes into play here. “Compromise” is a  swear word to me and is the hardest thing.

This word gives me nightmares! It’s very hard to rein it in when there are so many amazing things out there, but you have to stop somewhere!

And I’m definitely having to rein it in!

But with a big house like this I have to keep the budget under control and that means a lot of the time my initial ideas don’t get realised.

For me this is the challenge to keep things on track whilst trying not to lose the original aesthetic.

1contemporary-front-doors


This is design is similar to the door that we are getting, with just one panel of frosted glass to the right of the door. Our glass panel will be a bit wider than this.

IMG_7593


This is very similar to how our door will look.

Ours will be a slightly lighter grey than this, with minimal lighting.

grey front doorc1000xContemporary-timber-front-door-Kloeber-Funkyfront


One day it will look something like this! Can’t wait!!

What is your favourite colour door?


HOUSE RENOVATION PROJECT – PART 9, PORTICO INSPIRATIONS.

As the weather remains warm here in Italy, unusually warm in fact for this time of year!

I’m not complaining about the sun I love it, but I need something to keep me motivated.

I know that we are getting there with the house but at the moment it feels like we will never get there!

I’m sure this is true for all builds, soon it will all start slotting into place.

Rick is doing all the preparation for the electrician and plumbers but it all feels a bit slow at the moment. Once this next phase of work is done we will get the internal rendering done, underfloor heating and then the windows put in.

So, as something pleasant to look at I have found some inspirational images of porticos to give me some ideas of what ours could look like…..

Here is our shell of a portico!


IMG_0043

View from the boys room end of the portico.


IMG_0029

View from the dining room end of the portico.


Hers’s what it might look like!!


portico, wooden table8cba98e001f2fc7b6c58dcdfd590f3cb

Rustic with great views!


portico 6, m oakes files as seen on linenandlavender net

A beautiful shaded area with lots of greenery.


portico7,4-interior-s-dustjacket-attic

Warm tones and a delicate statement chandelier make this an inviting place.


portico with bed,f793e15052cd748aa2cd8fd7e79816b1

Wouldn’t mind a nap in this cheeky little daybed!


portico2,4bb4d7955d716cfa7e1e76bef819145f

Warm neutrals work well with the wood and stone for a relaxed vibe.


, pink flowers , portico2947d373a9f5a34d3f73e3630fc221dd

A stunning pool lays beyond this shady portico.


ibizia portico with pool,13891409544_0046e158a8_z

A modern portico, love the green chairs!


Do you like these? Do you like to relax on a portico?

Happy sitting/sleeping/eating/dancing on a portico!! I know I will be one day!!!


HOUSE RENOVATION PROJECT – PART 8, PORTICO.

The last part of the stucture of the house is complete! The main portico. This was finished a little while ago.
The portico measures eleven by two and a half metres and stretches along one side of the house. A door from the dining room, and a door from the boy’s room open out onto the portico.

The under side of the roof is in wood, the same as upstairs. And on top of the portico are the same dark grey tiles that are on the roof. 

Now that it’s finished it looks a lot bigger than I expected. I think that this is because of it’s height and the fact that the edge of the roof hangs over the edge of the portico floor for protection. 

The only thing that I am upset about is losing the old original stone at one end of the portico, but this has to go as we are having the house insulated on the outside (that’s technology for you)! So we are unable to leave any of the old stone showing.

As if there are gaps in the coverage of the whole house, the insulation will be ineffective, as the technical guy said ” it’s like wearing a scarf with a gap in it” you need to cover the whole exterior with no gaps, for it to work efficiently.

I can just imagine sitting out here on the portico with a cup of tea/glass of prosecco and enjoying the view! (It’s a hard life)! 
We will have a table and chairs out here and probably a small sofa. It will be a Lovely spot to relax, eat and generally chill out. 


In my mind I’m there already. Every step feels like we are getting closer. To be honest it’s been going on so long that it feels like a dream that we will ever move in but I know we will…………


IMG_0878

The foundations for the portico were done months ago.


IMG_4977

The view to right of the portico.


IMG_1018

Rick and Rob checking out the new portico.


IMG_1024

The view from the portico across the valley. Beautiful minus the mud heap!


IMG_1023

Another view from a different angle, you can see Brunelli church in the distance.


IMG_0017

The door that leads out of the boys room onto the portico.


IMG_0022

The door that leads out of the dining room onto the other end of the portico.


IMG_0019

The pillars go on, to support the roof.


On a glorius day between lots of days of rain the roof goes up! Hooray!!


IMG_0027

Finally the roof of the portico goes on. The lads are hard at work!


IMG_0043

This is how it looks inside, it’s a shame we will lose this lovely original stone at the end of the wall straight ahead. But the external insulation has to cover it.


IMG_0029

This is the other end of the finished portico.


IMG_0045

Front view.


IMG_0032

The view from the finished portico, on a hazy sunny day!


There willl be 2.20 metre wide steps at the front of the portico in the center. These will be added later on.


IMG_0039

The house looks finished now!


Now we are making  progress in many ways. I have moved one step closer to ordering all the floor tiles, ordering the kitchen and meeting with the plumber who thinks we should drop the shower from the downstairs shower room and make it into a luxury loo.

Nice idea but we are not a hotel, so I’m sticking to my original plan. Downstairs bathroom has a shower. Great for cleaning off muddy football playing boys. Rinsing off from the pool (one day)! And an overspill shower room if guests are staying.

Do you have a portico? Do you use it a lot? Let me know!

REUPHOLSTERY PROJECTS – PART 1

Apart from doing the design and interior of the house I have quite a lot of furniture renovation projects to complete.

Well, only two sofas to reupholster, four armchairs, six dining chairs, beds, display cabinets and various sizes of tables. Not much at all!!

This is all good as I love doing this kind of thing. The only problem is I don’t have any where to do the work  at the moment as my garage is stuffed to the gills with all the furniture that’s waiting to be worked on.

I may have to wait until the garage door is on at the new house and work there, so that all this excitment can start!

Most of the furniture needs painting and/or reupholstering, so I do need a bit of space! If anyone has a spare barn that I can use please let me know!!

Here are the types of things that I will be tackling! I’m mixing it up with the furniture, mixing old and new. Ricks not too sure, he can’t quite get it and is worried that his gorgeous new house will look a bit Steptoe and son, but I said “Trust me”, those immortal words.

I’ve got a paint spray gun and I’m not afraid to use it!


These two beauties below where given to us by an aunt.  Yes they do need some work, but as they say they have good bones and with some hard work they should look something like the images below!


IMG_5879

This sofa needs major T.L.C, stripping and reupholstering, but it will definitely be worth it.


IMG_0166

This chairs is in better condition but will look completely different with a new look!


reupholster a vintage sofa, grey:white sofa

Love this combo of fresh white and grey.


This is a great combination of white paint and  chevron fabric but this kind of colour may not be practical with a house full of  boy’s!

Gorgeous chevrons with nutella and muds stains! I may have to go for a darker colour, shame!


yellow reup sofac11ad5a659004babbf04d4a79d4d64c7

White and mustard chevron fabric looks great with the clean white paintwork.


grey chair,be45f096eedce55df2883c892c11b9b2

My favourite – grey linen with subtle distressed wood. Love it!


blk :white chair timthumb

Another bright scheme. Doesn’t it work well to add some colour to a classic chair.


I really like the way that the bold fabric and white woodwork unifies all the very different styles of dining chair.


Mismatched-dining-room-chairs-painted-white-and-reupholstered-with-matching-green-houndstooth-pattern

Large scale houndtooth fabric in olive and green looks amazing!


Yes I know that this chair below looks scary but I had a feeling that it was a great shape underneath that plum fabric. This chair was given to us by a cousin of Ricks, who was going to burn it!! (Yes I know, you are thinking I can see why)! After we stripped off the plum fabric we unearthed  a gorgeous little 50’s wing chair in green velvet.( I didn’t take a photo of the green velvet and now it’s burried in the gills of the garage, so another before and after photo will follow later)! It needs reupholstering as the velvet is a bit worn, but once done it should resemble the grey chair pictured below!

Please, use plenty of imagination!


IMG_5898

Our saved wing chair in it’s plum fabric.


grey wingback,mk5hUQMyNdnyZoFTlHQE8XA

Our chair should end up similar to this!


From vile to style!

So watch this space, when I have space and time to get going!

Have you ever tackled anything like this?

HOUSE RENOVATION PROJECT – PART 7, ROOF AND RAME!


This last two weeks has been crazy. Trying to finalize the bathrooms, as there are three, there is a lot to think about.

Also I have been finalizing floor tiles for the whole house. I love doing all this but how many more nights can I dream of tiles and loo’s! I need to get it sorted!!

Next is the roof, riveting stuff, literally! The roof is finished and the rame is riveted. Rame, which is Italian for copper, is on.

This rame is used to finish the edge of the roof and for the guttering. It starts off as a bright copper colour, which is beautiful but really scared me when I first saw it finished. I thought O.M.G. my window frames and shutters are dark grey alluminium this will never go!

I’m all for metallics being on trend for interiors and I am having some inside the house which I will be mixing with grey in the interior. But seeing bright copper and imagining the dark grey windows, it was scary at first glance.

Well, thank god the colour eventually tones down to a dark grey/black/brown tone over time. I hope mine will be end up more grey than brown, fingers crossed!


This is the finished new roof, with shiny rame!


IMG_6116

Check out the shiny rame!


IMG_6114

Get your sunglasses on.


New roof and moody sky’s.


IMG_6531

Watertight at last!


IMG_1377

Copper highlights.


IMG_1428

Close up of rame you can see it starting to discolour.


IMG_1426

Riveting and fabulous craftsmenship by the builders.


These are more like the copper tones that I would like to see in the interior of the house!


copper_home_decor_Design_Lovers_Blog

Stunning Tom Dixon copper lights.


0475760c80447572f2b017877442a7ee

Copper candlesticks.


copper vaseb9e1df8501e85689_1003-w251-h251-b1-p10--contemporary-artwork

Simple copper vase.


marble-candleholders

My two favourite finishes, marble and copper. These candle holders are gorgeous!


copper bar set.f6978f80-0cb4-4c5f-9c04-012b31cc5a6b

I love this copper bar set, the jug is such a great shape.


The next stage is the finished portico, watch this space!!


DREAMY POOLS!

As the summer fades into Autumn and the rains continues, and the flood warnings return (it’s true)! We are having really bad weather here in Italy.

I thought it would be nice to show some inspiring and beautiful swimming pools.

I think by the time we have finished our house the only pool we will have will be a sunken bath in the field!

Oh well we can all dream………


Think of summer holidays and warm suuny climes!


1)6.-la-piscine-pools-start-of-summer-may-2014-habituallychic-00


pool 2)bde81f594c1ba7ce81179cdbdd1406c6


pool5)29c4f4ef-d208-472c-b0c1-2b86fb46ffc7.1.12


pool7) panoramski-razgled-in-sodobna-hisa-v-kaliforniji-4


Do you have a favourite pool?

Where do you dream of being right now?

HOUSE RENOVATION PROJECT – PART 6, KITCHEN, DINING ROOM (‘WINDOWGATE’).

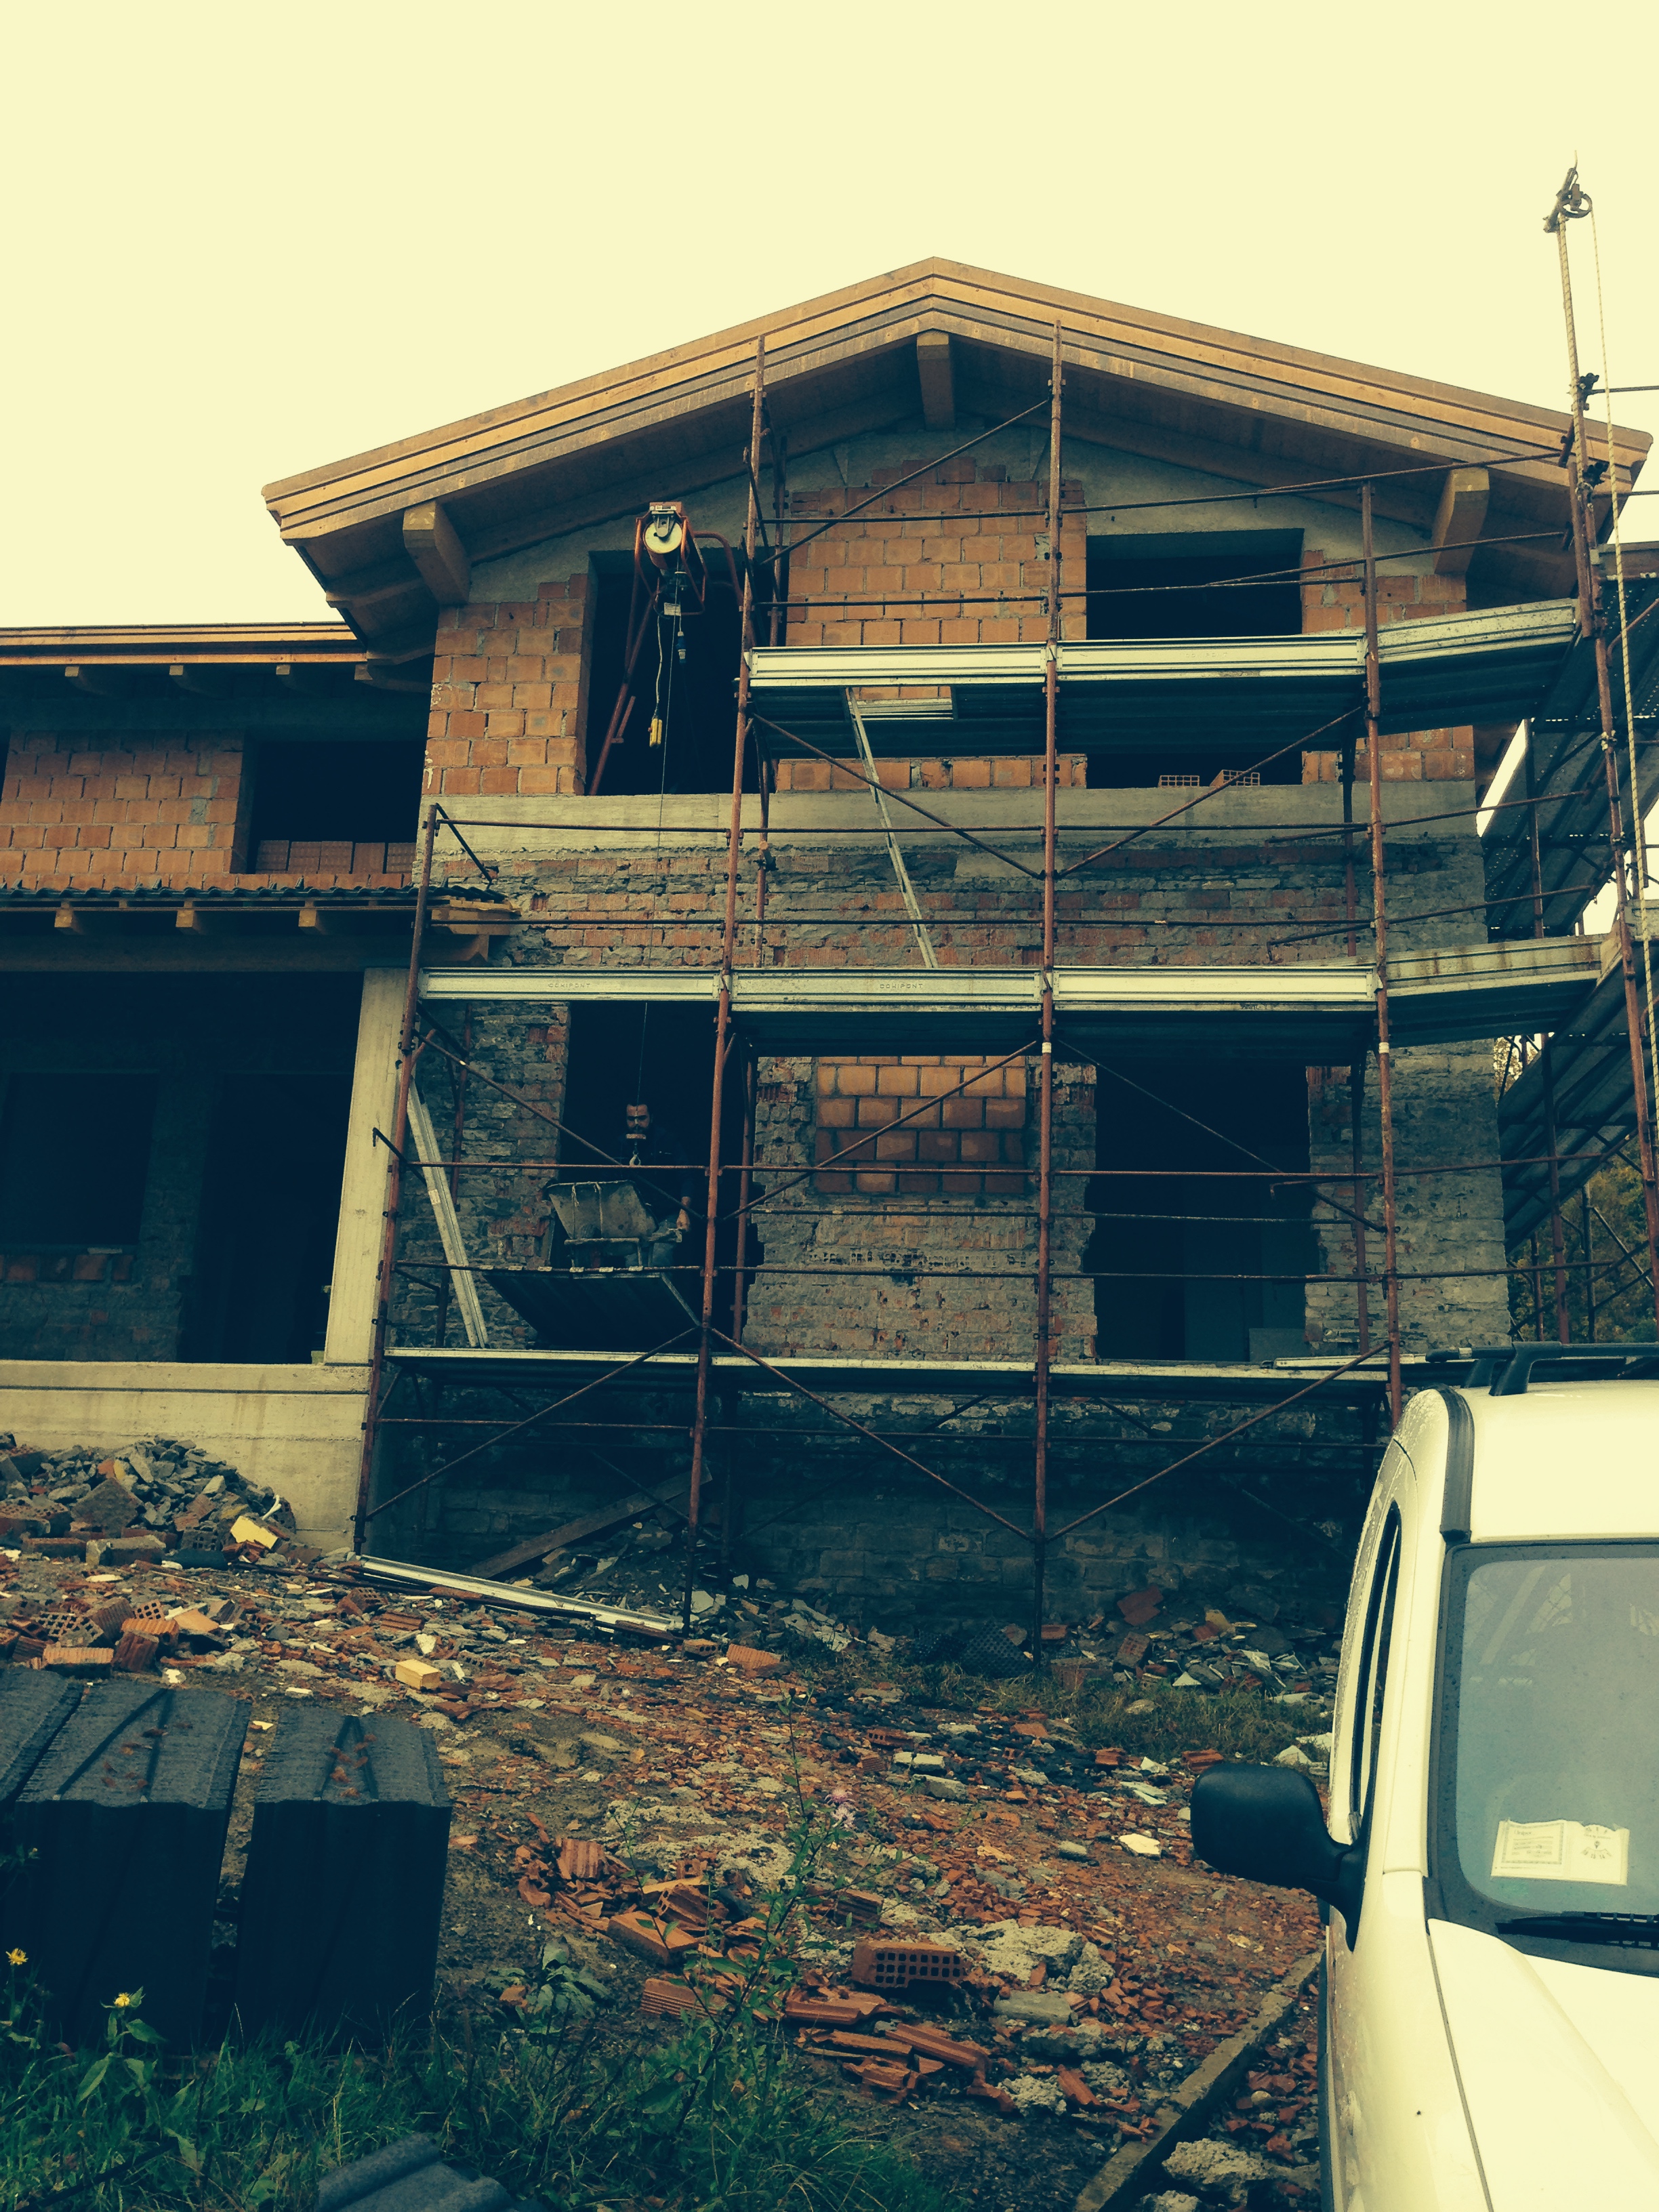
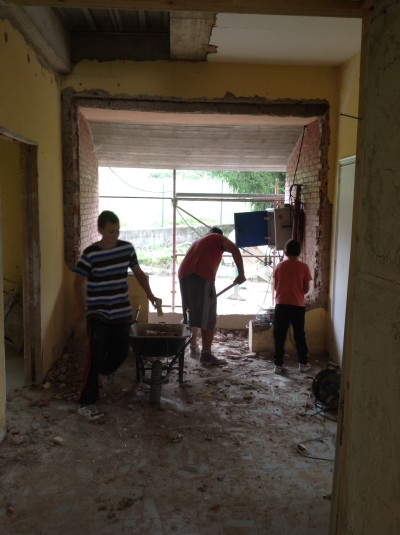
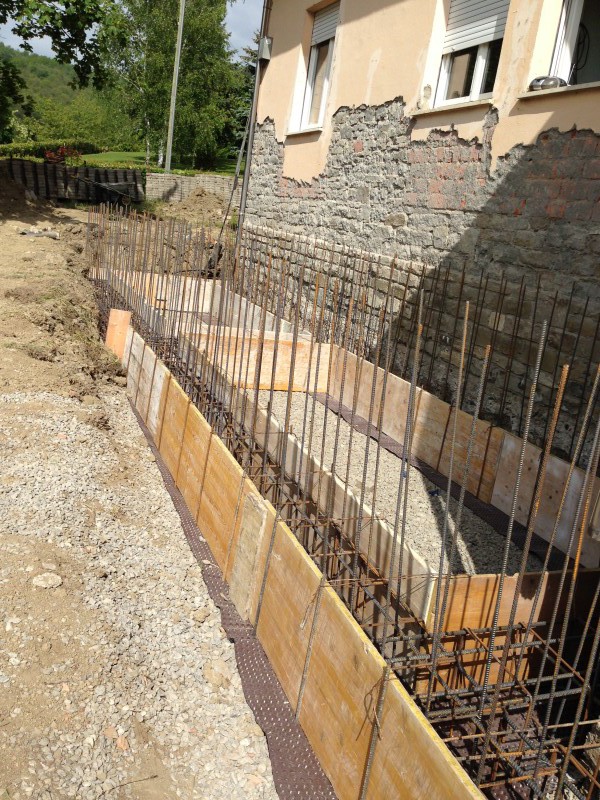
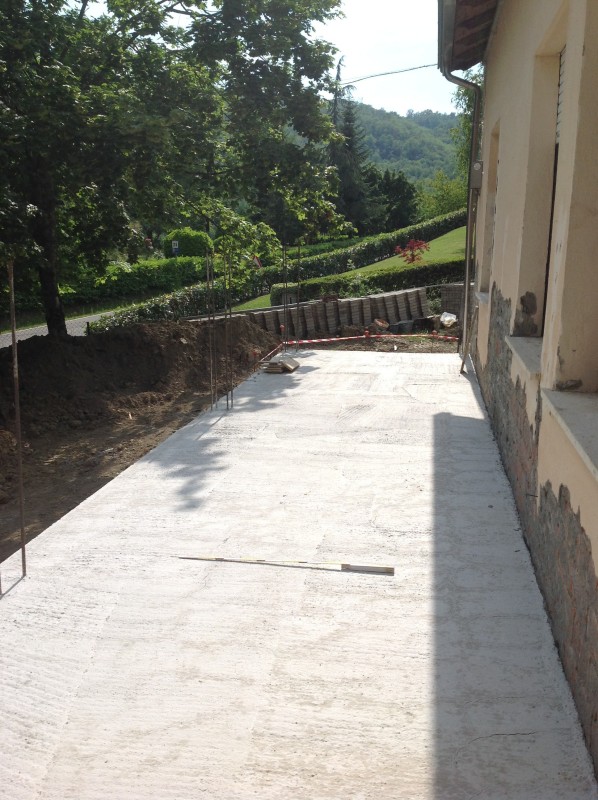
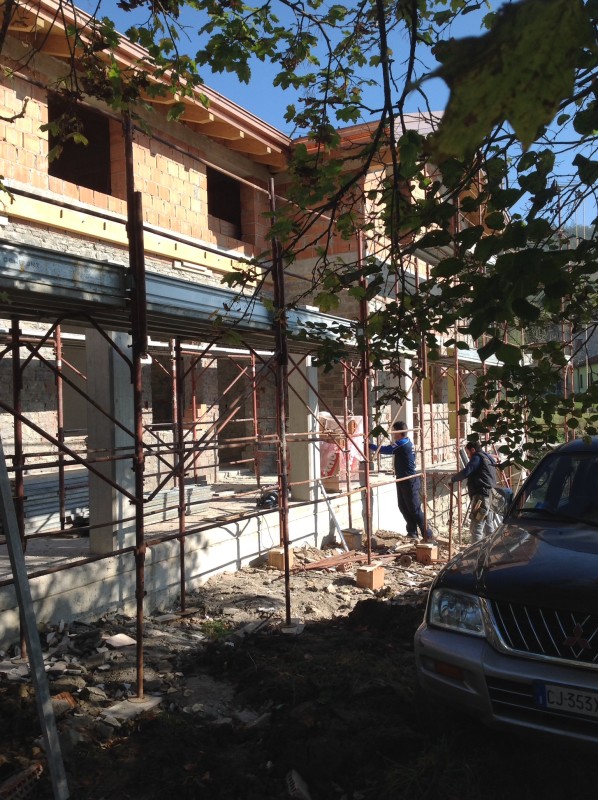
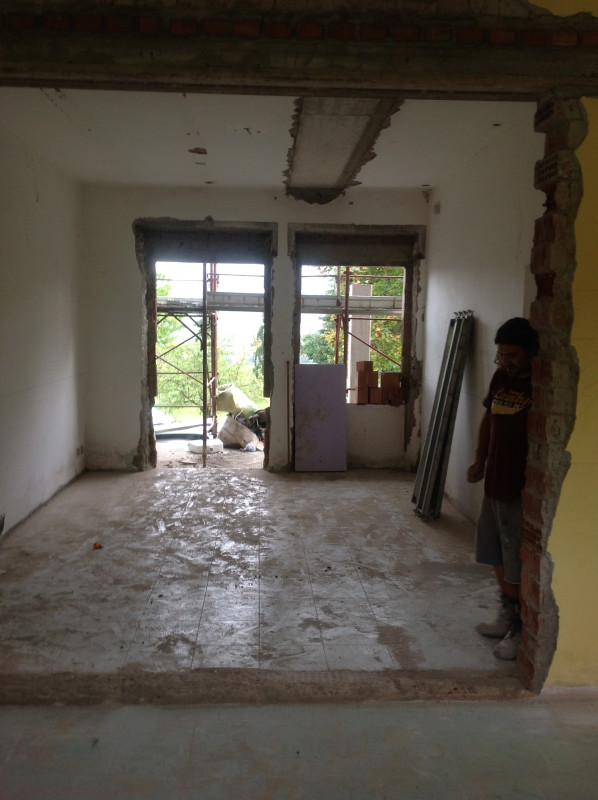
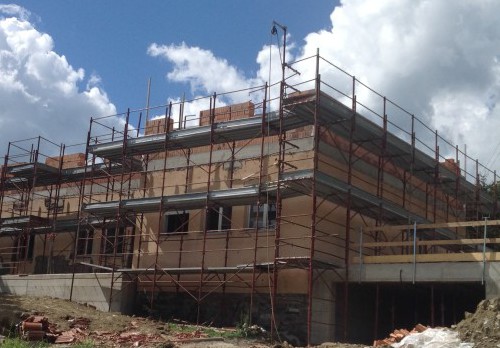
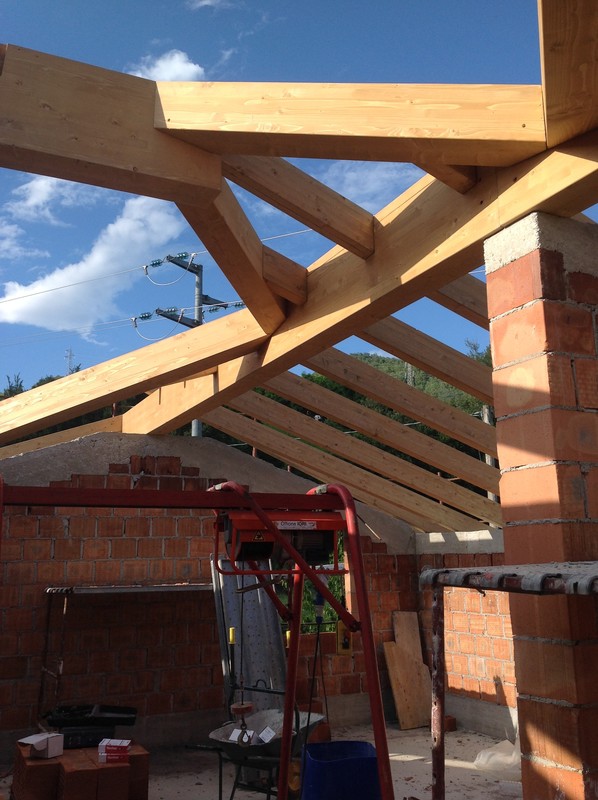
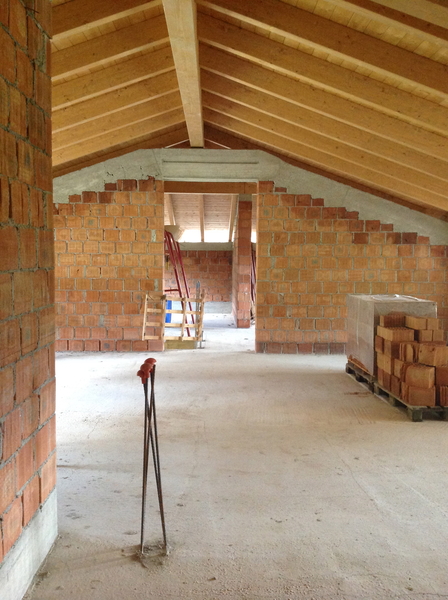
The next stage of the build was to knock a wall down between the kitchen and the dining room to make a large L shaped room. A concrete girder had to be installed above this opening for strength.

In the kitchen we will have to brick up two old doorways and open up one of the old windows to make a door.

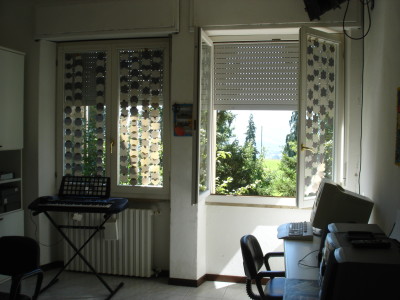
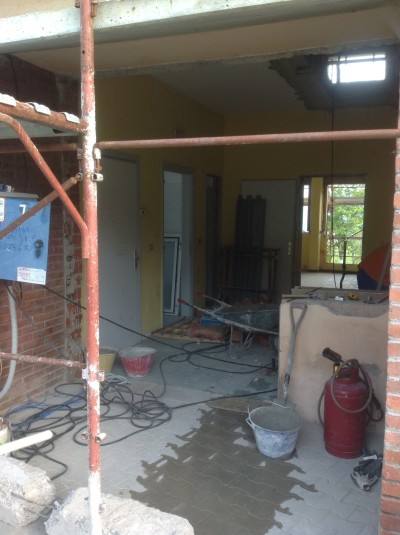
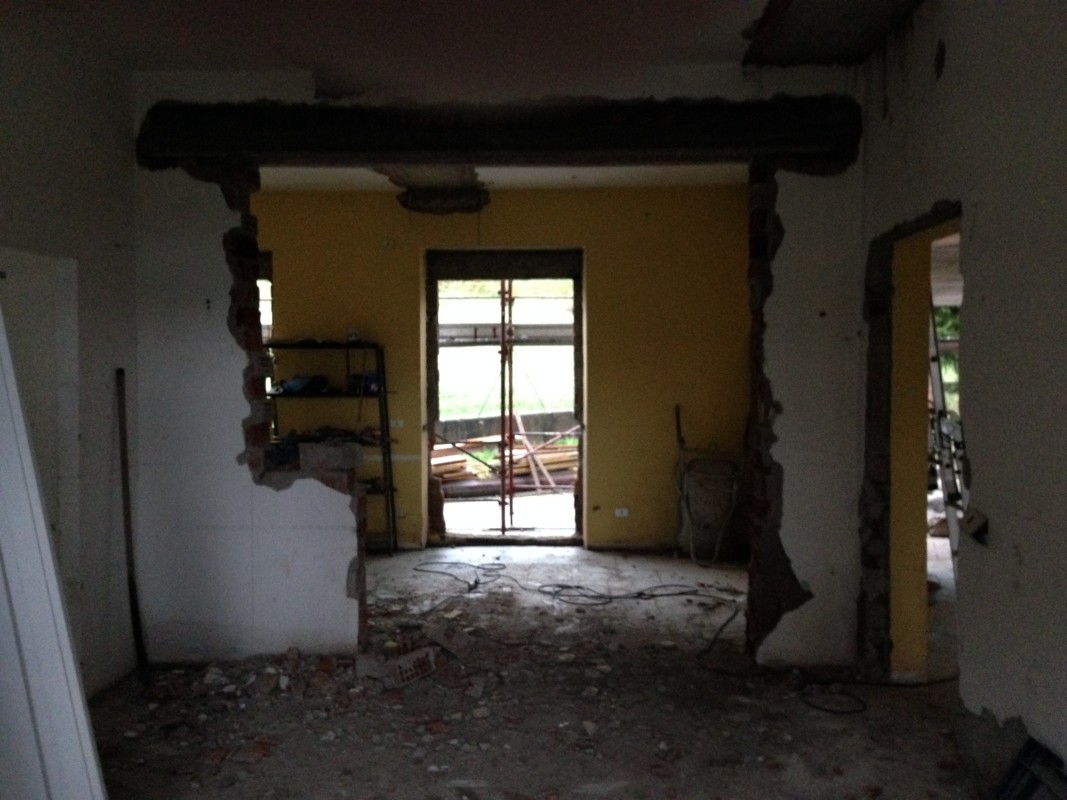
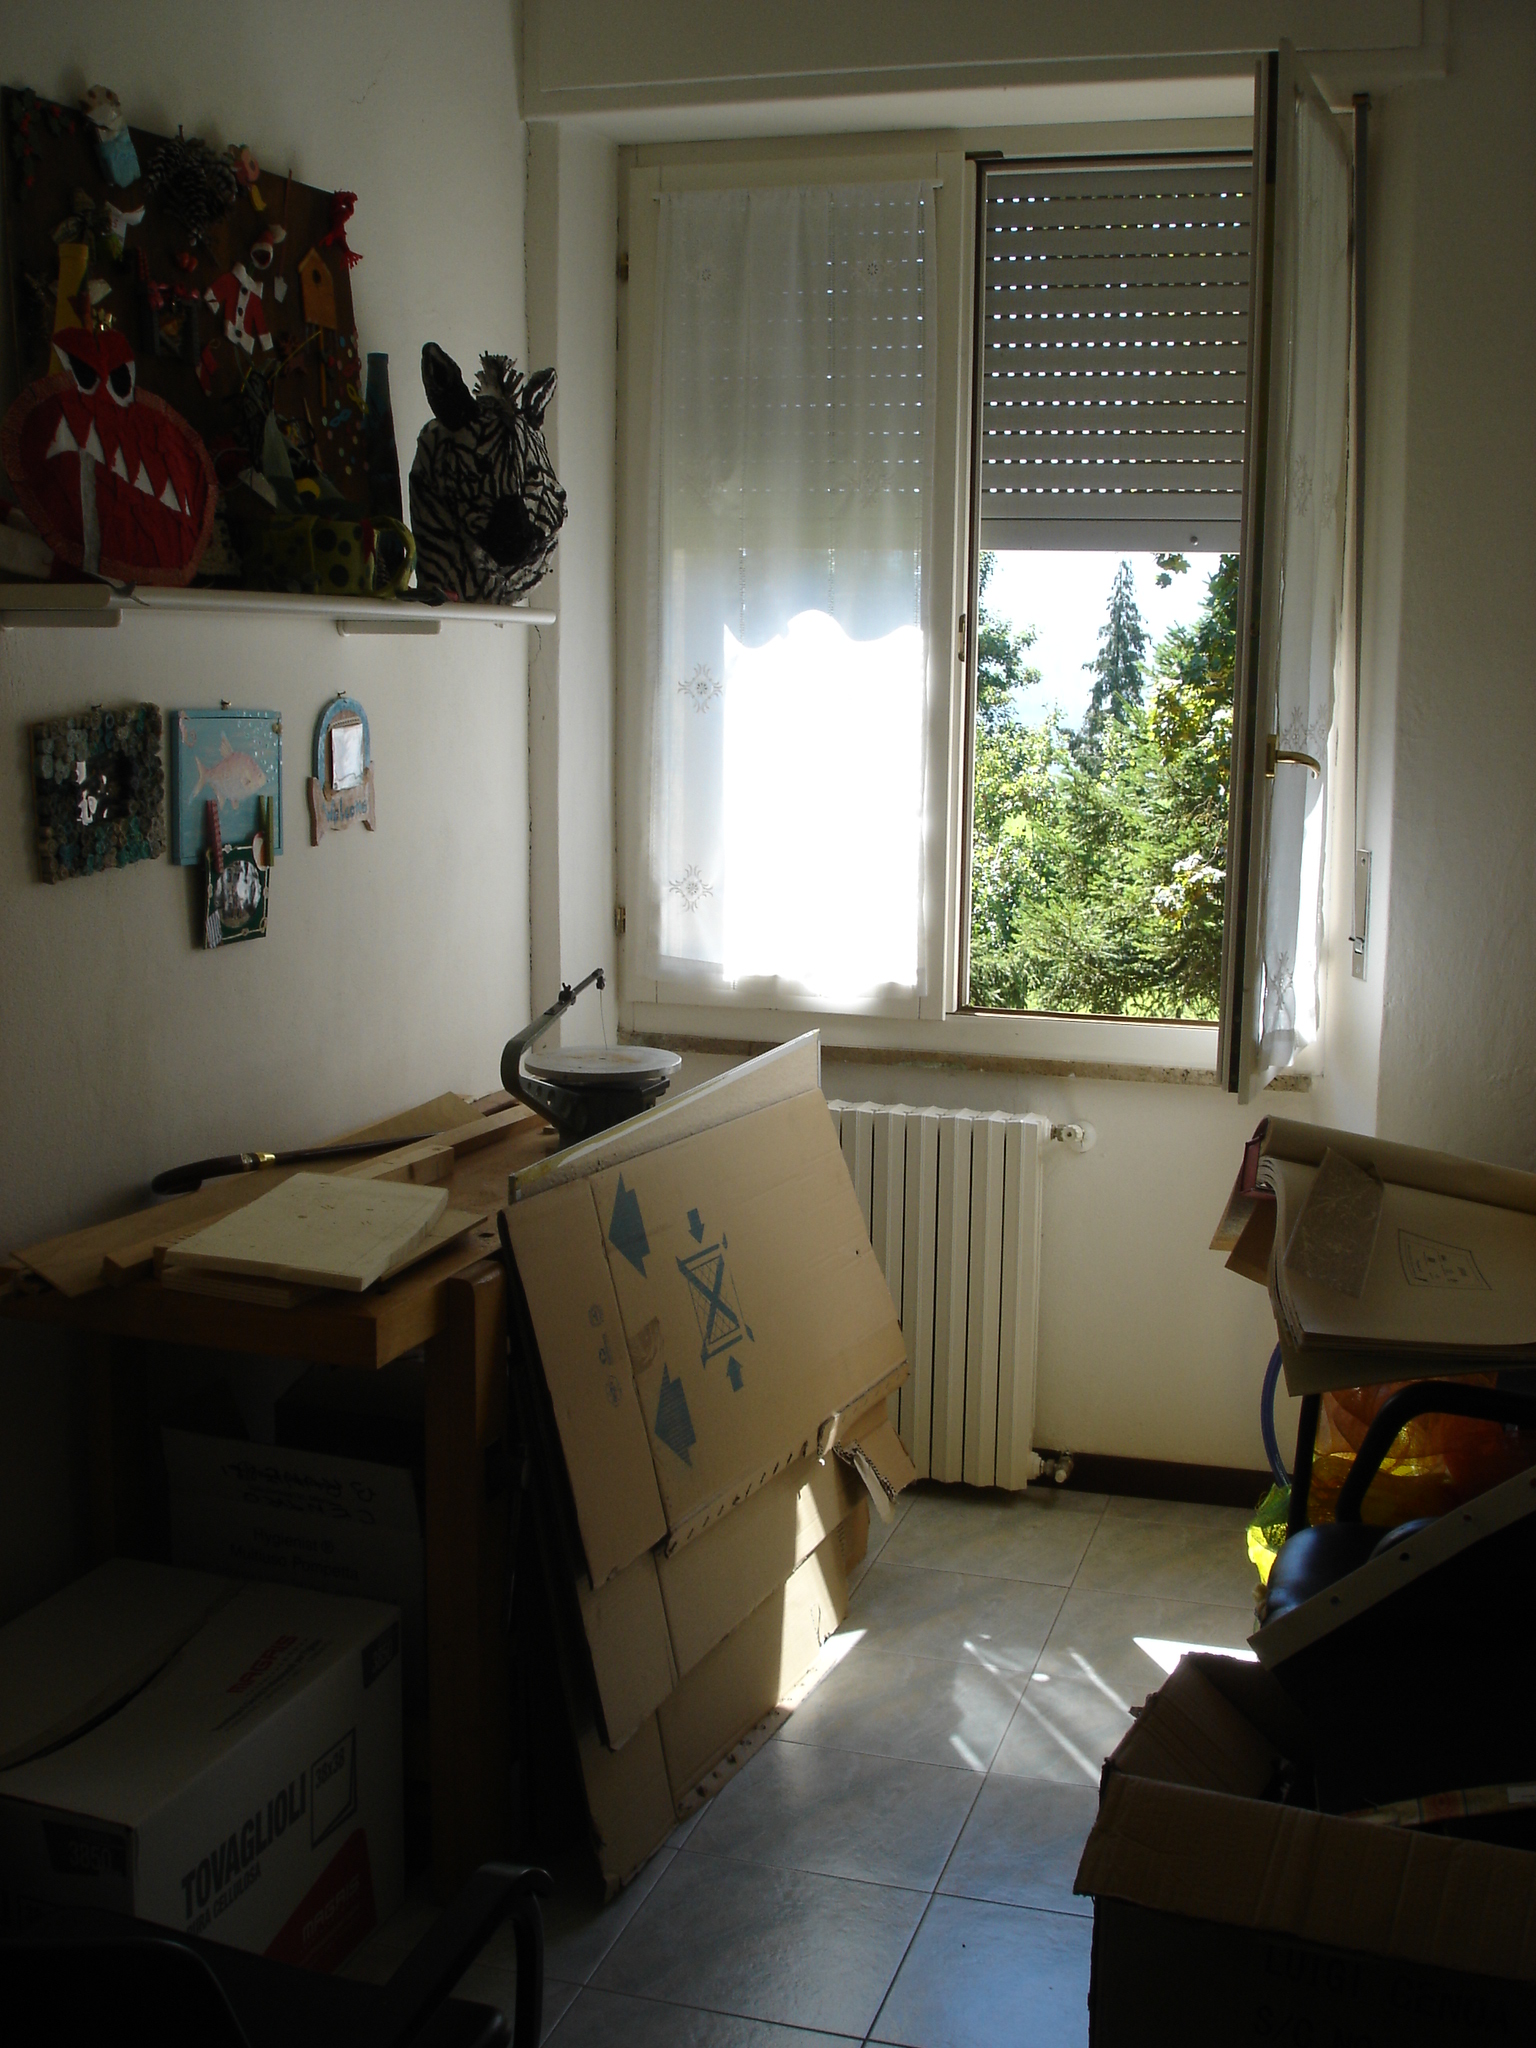
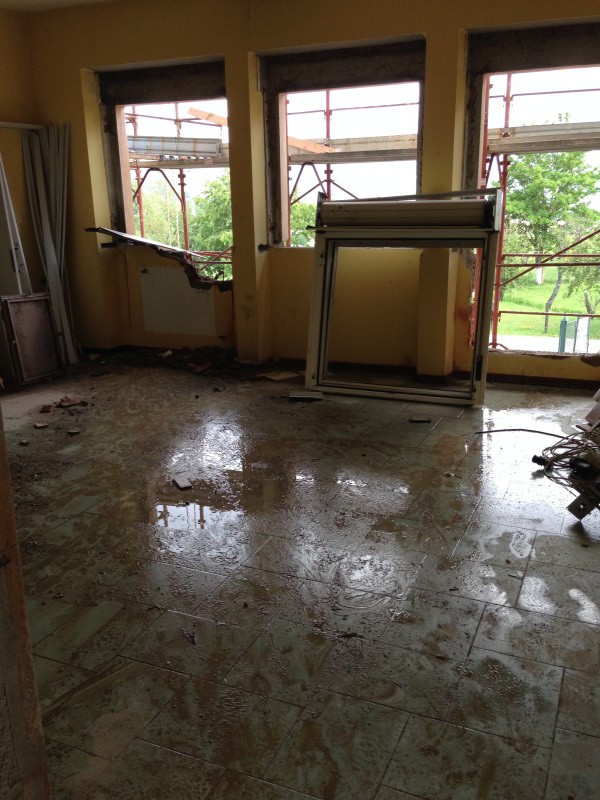
The kitchen as it was.
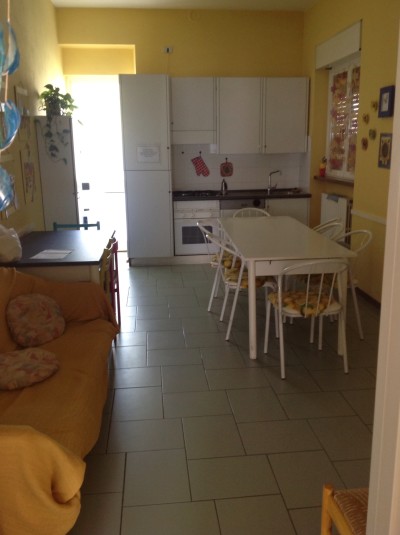
 

IMG_0044

The old kitchen.


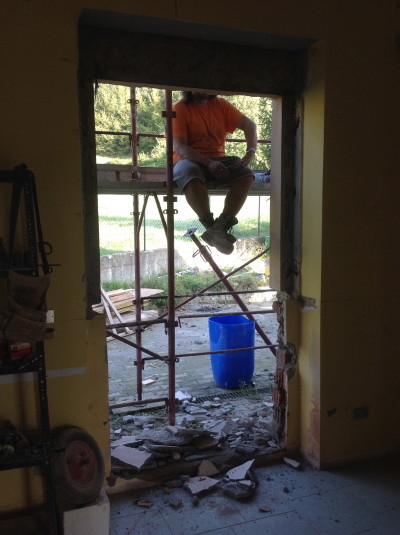
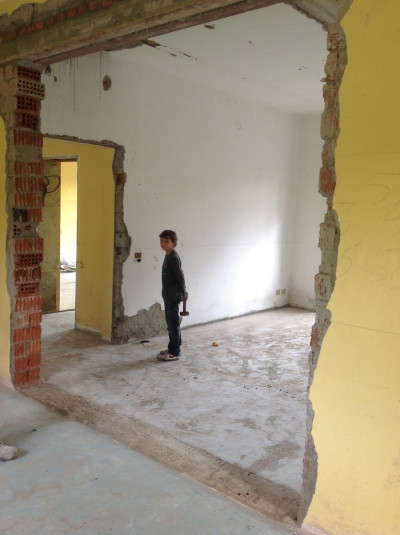
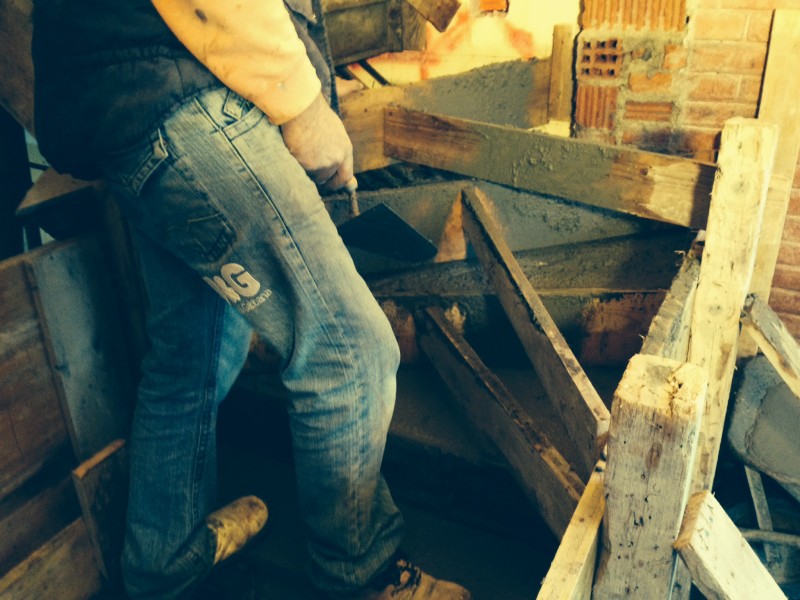
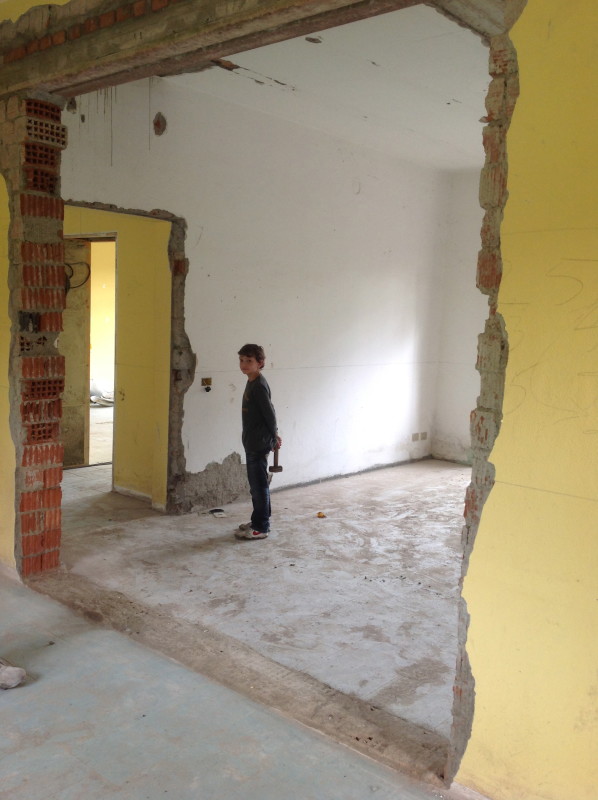
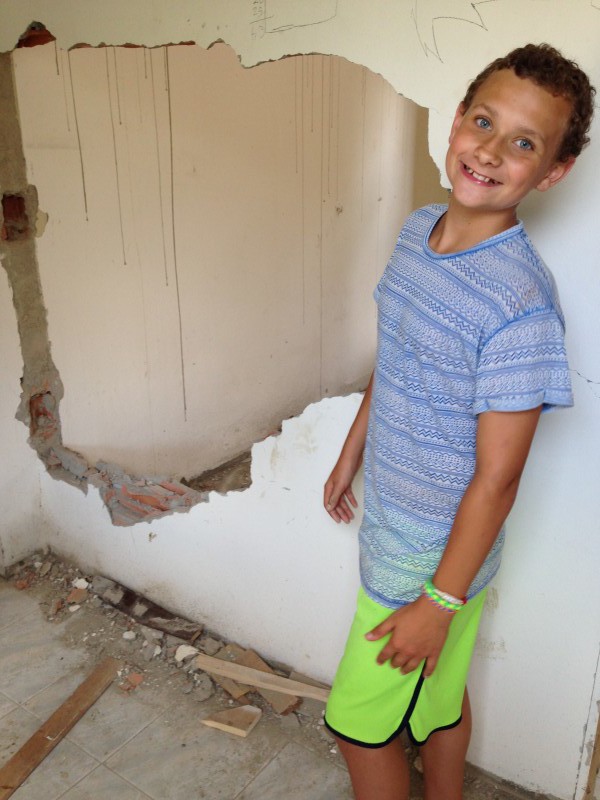
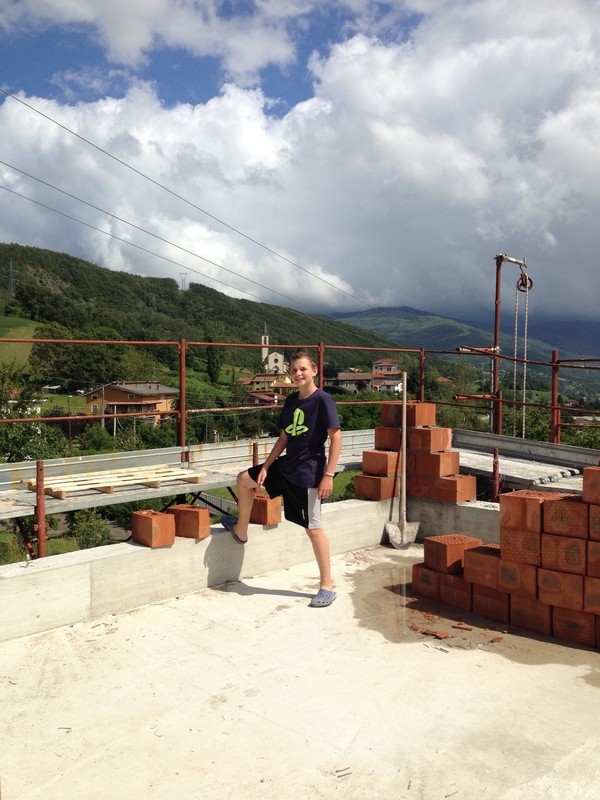
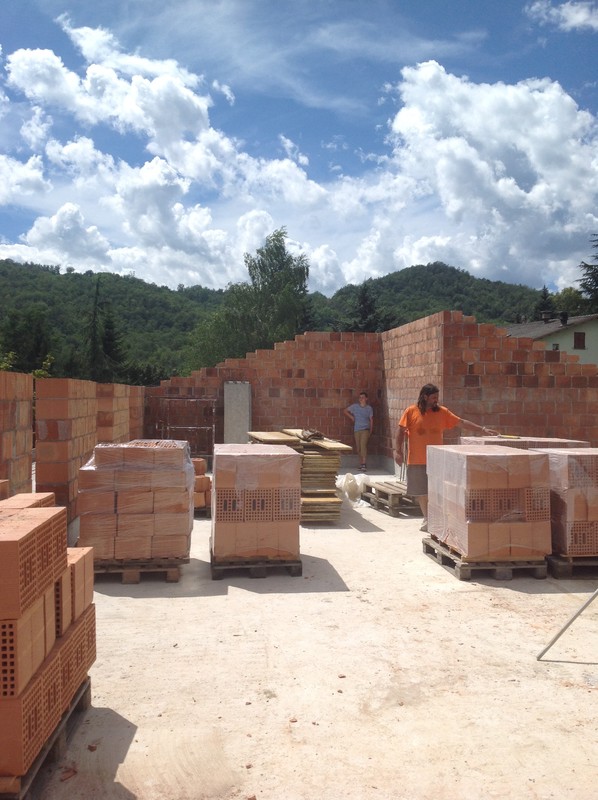
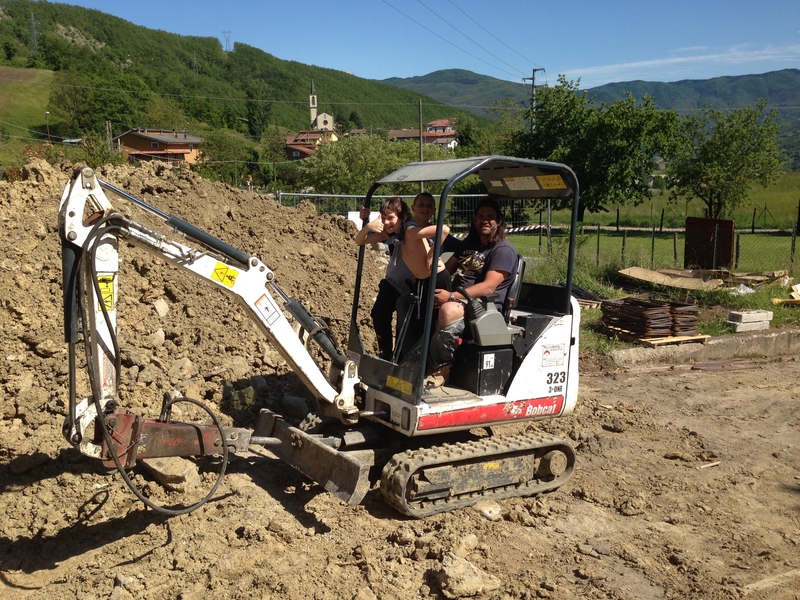
Do you recognise this man? Answers on a postcard please!


This window was made into a door.

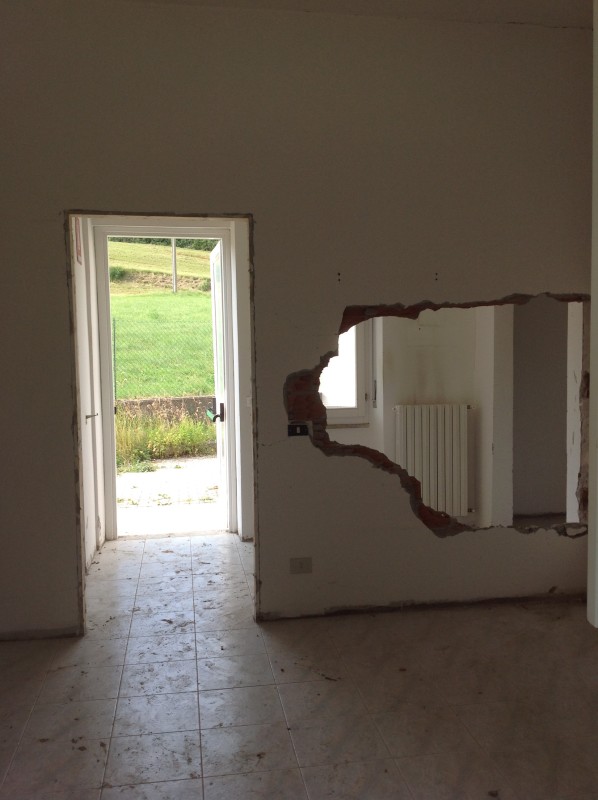
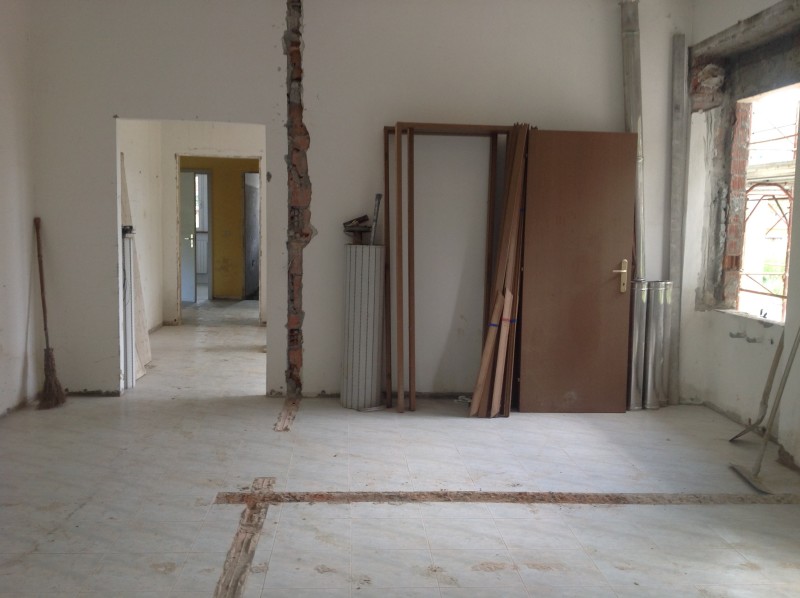
This window was made into a door in the kitchen.


This was the back door and will be bricked up.

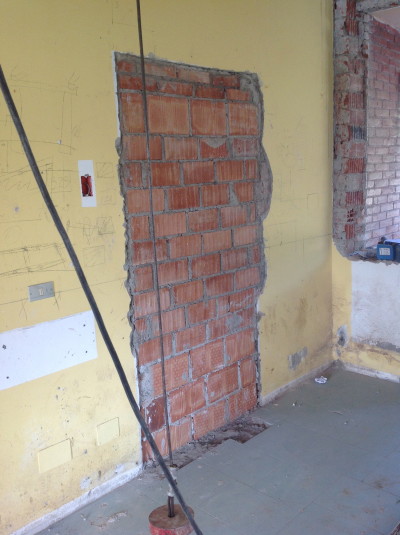
This was the back door of the kitchen and will be bricked up.


This was the kitchen door, no more!

This was the kitchen door, no more!


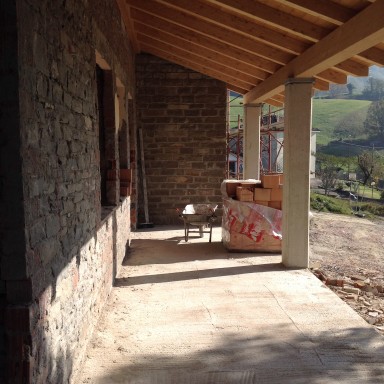
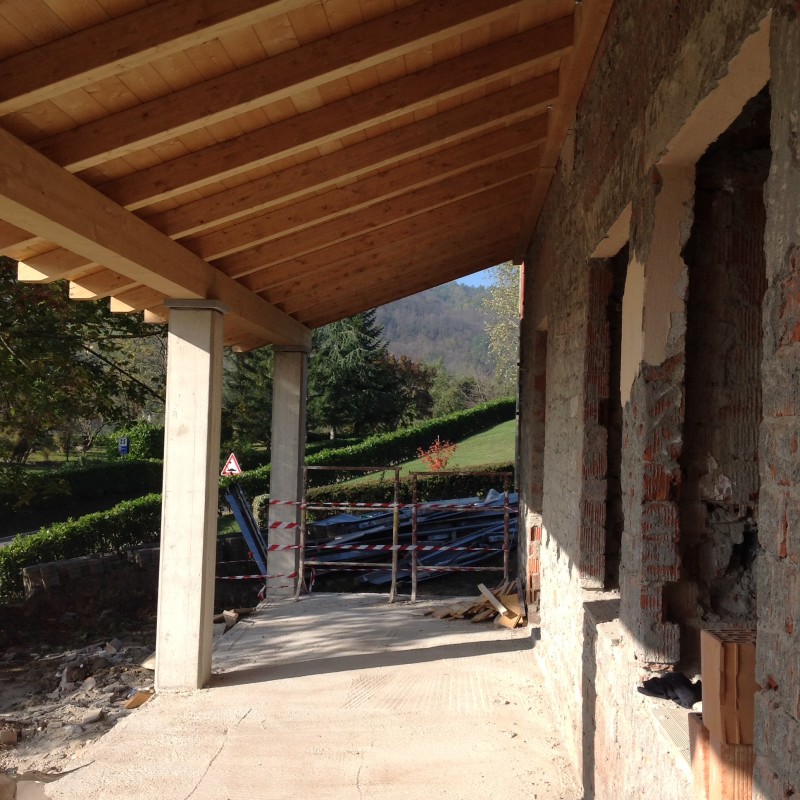
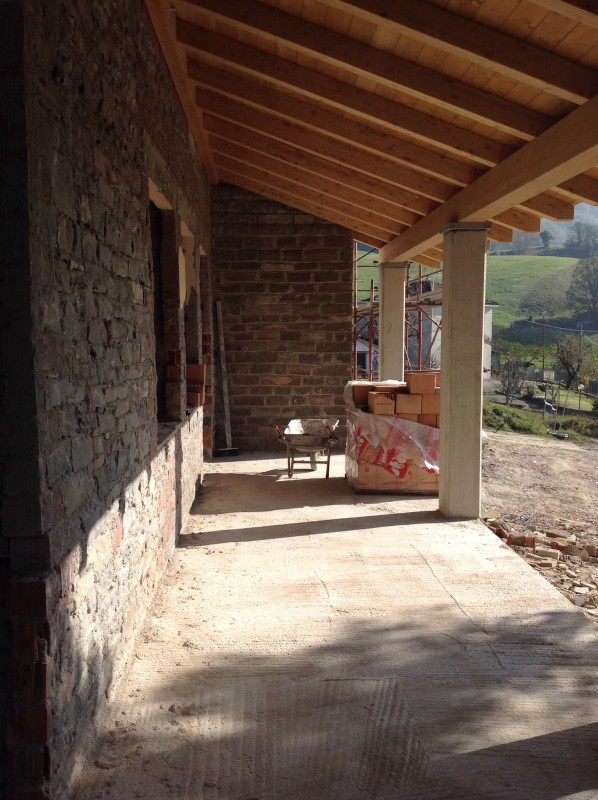
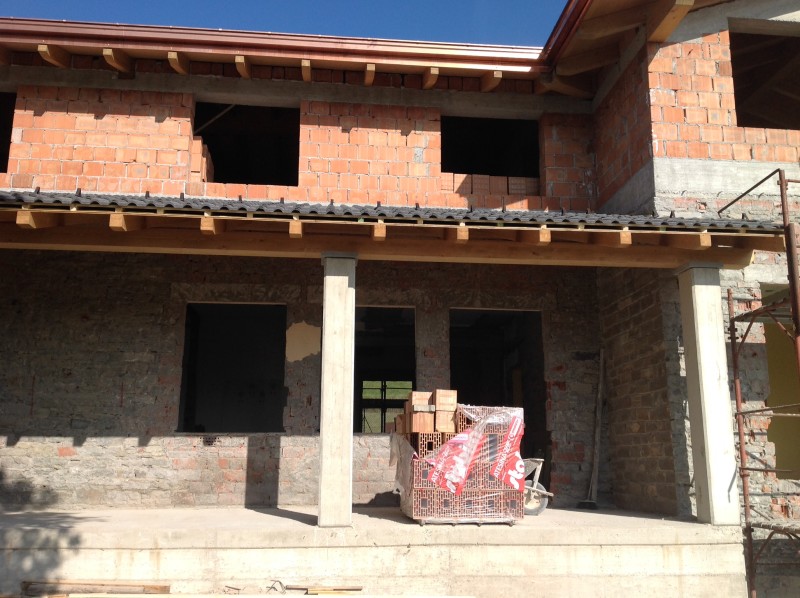
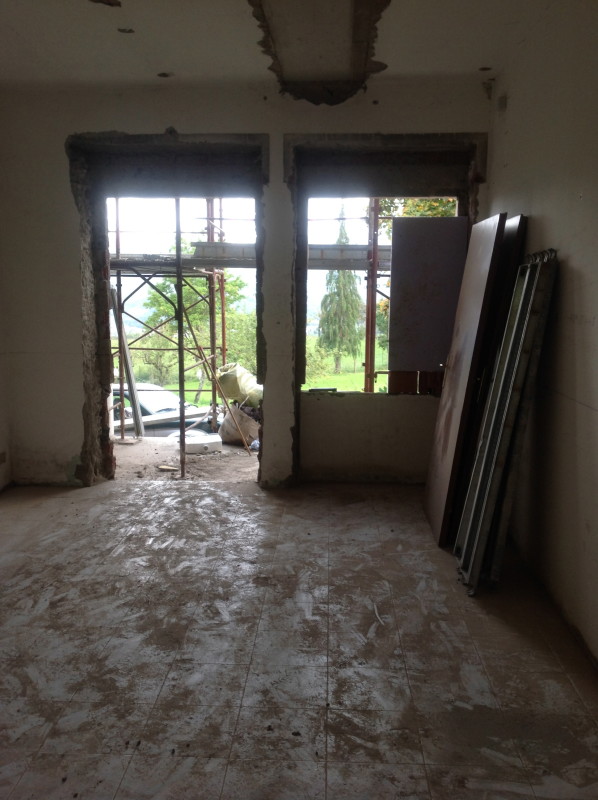
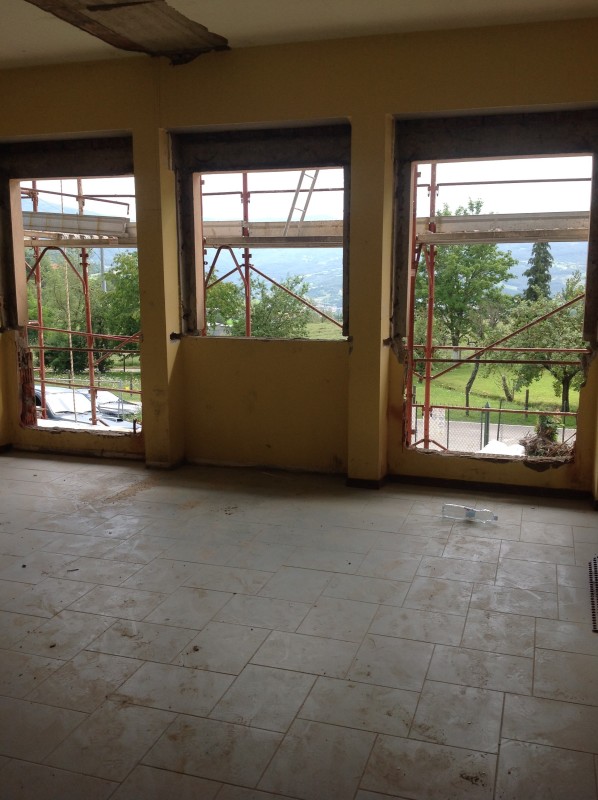
In the dining room one of the windows has been made into a door that leads out onto the main portico.

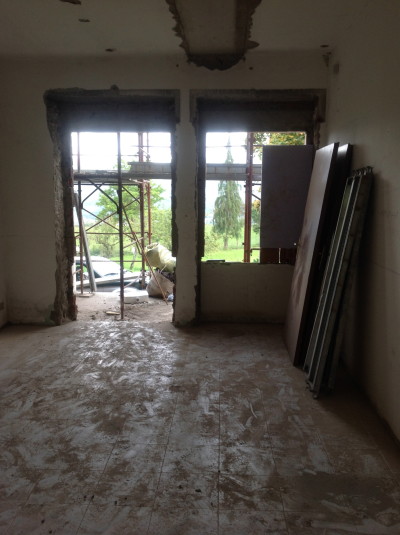
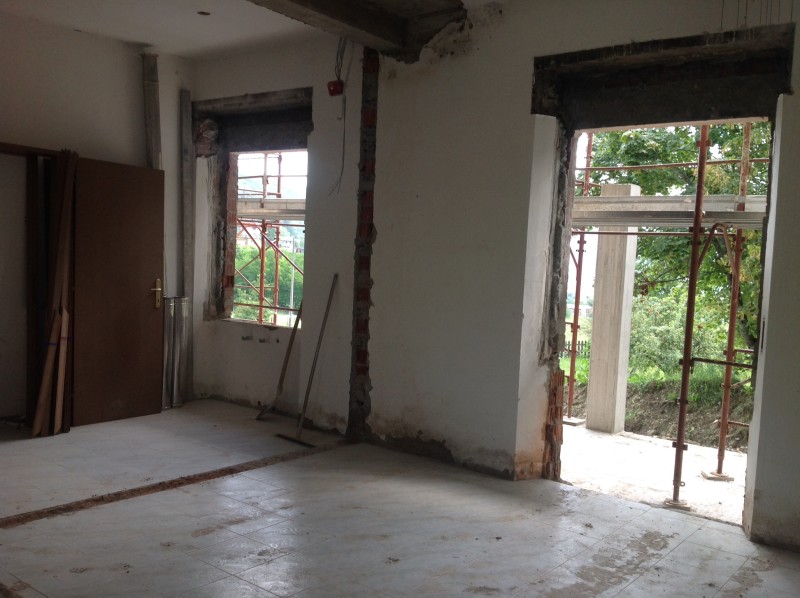
The dining room as it was.


The old dining room.

The old dining room.


This window was made into a door.

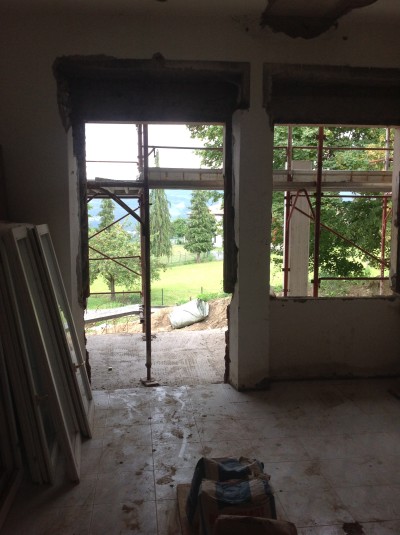
This window was made into a door in the dining room, this leads out onto the main portico.


Like all building projects problems will pop up along the way, that will need to be solved.

Sometimes these problems can be thought about before the project starts but it’s often easier when you are actually standing inside the building to work things out.

Last week we had one such incidence I named it ‘windowgate’!

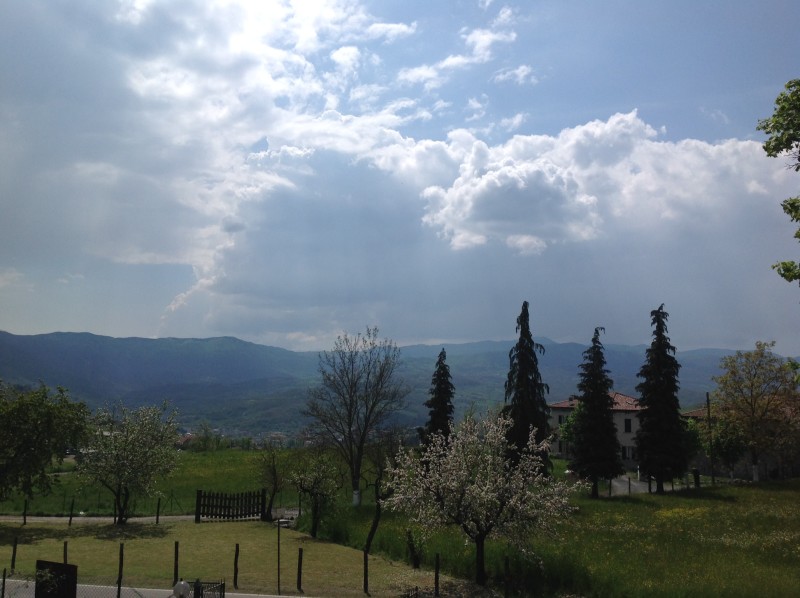
Heres why! Because we are having metal shutters on the outside of all the windows (as is the norm out here), a couple of the downstairs windows (one in the dining room and one in the boys room) are too close together to allow them both to have shutters. As there would be no room to open the shutters on both windows.

Everyone wanted to close the window in the dining room. What I mean by everyone was my husband, the builders, the arcitect, the man who’s making the windows, almost the whole town! Talk about ganged up on, but no, I stuck my ground and said ‘No way’.

Close a window, absolutely not! Lose light and a beautiful view! Nooo way, with a sofa to be positioned near the window I said (in a sarcastic tone) ‘oh how pleasant, lets sit and look at the beautiful view of the brick wall not the mountains!

Crazy springs to mind!

I mocked up blocking up the window (sometimes you actually need to see things in the flesh) and as you will see from the photos below how dark and prison like the room becomes with no window.

‘Windowgate’

Prison cell!

Blocking the window. Prison cell!


How no window would look on a really dark day, shocking!

How no window would look on a really dark day, shocking!


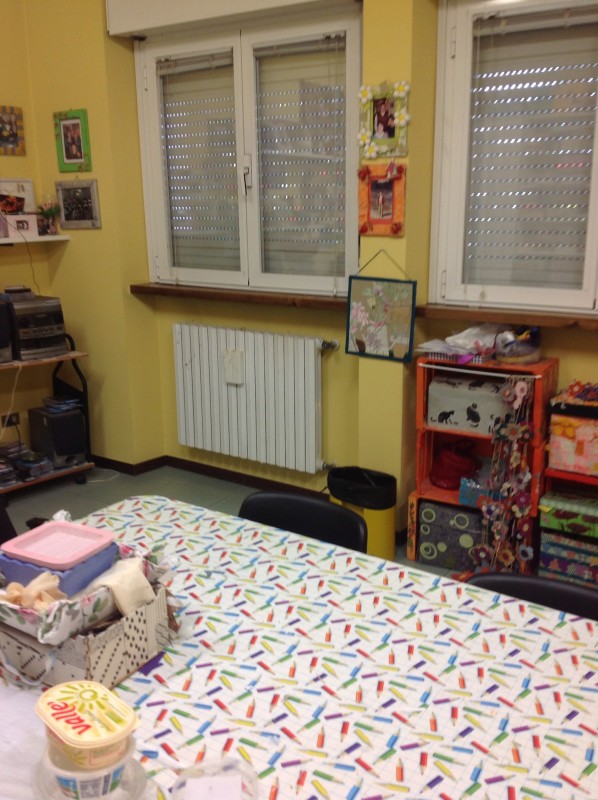
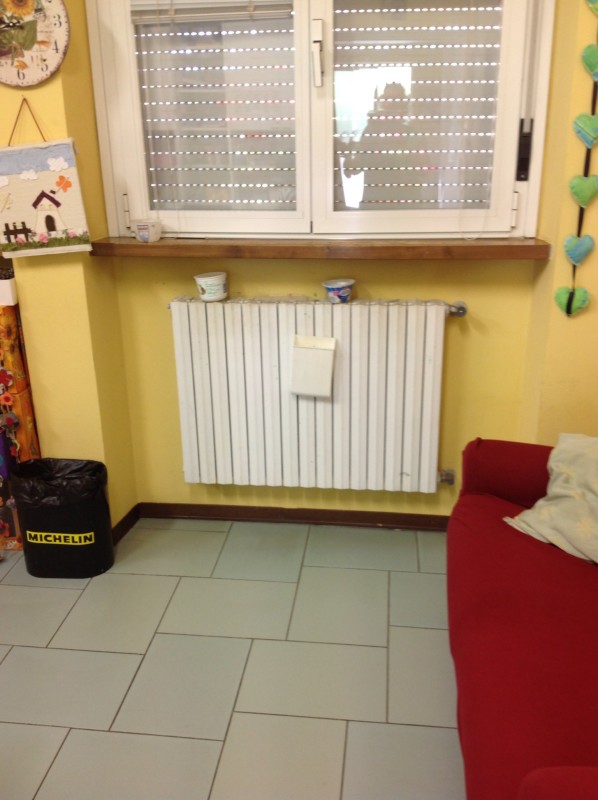
Their argument was that to keep this window made the balence of the windows in the rest of the house wrong! As all the lower windows mirror the upper windows. This little window was the odd one out.


All the upper windows mirror the lower windows.

All the upper windows mirror the lower windows. The window with the purple board is the window in question!


The window will be smaller than the origina,l but it will still be there!

The window will be smaller than the original, but it will still be there!


I am usually very fussy and anal about things but I said ‘I don’t care, need to keep the window, make it a bit smaller, put internal shutters on the inside’.

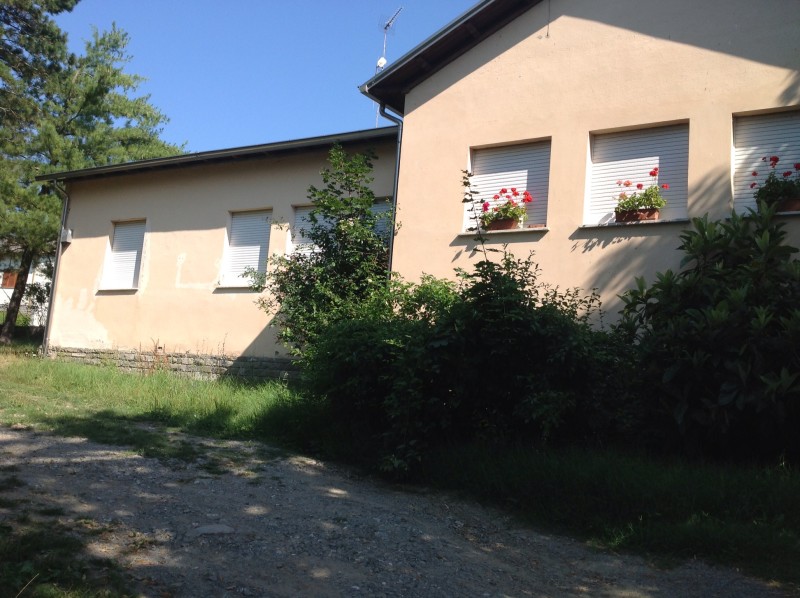
Anyway you can hardly see this little ‘odd’ window from the outside of the house as the portico shields it!

Of course we are keeping it, you know us women we always get our way!


Knocking down walls.

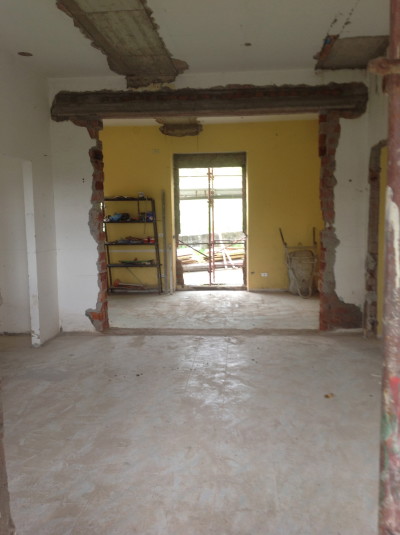
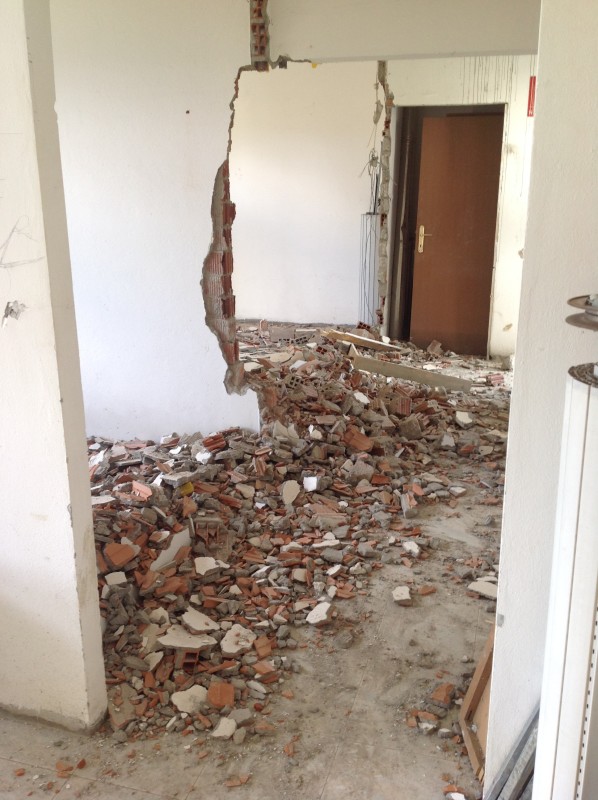
Knocking down the wall between the kitchen and the dining room.


It wasn't me!

Opening up the wall between the kitchen and the dining room. ‘It wasn’t me’ says Massimo!


looking through from the dining room into the kitchen.

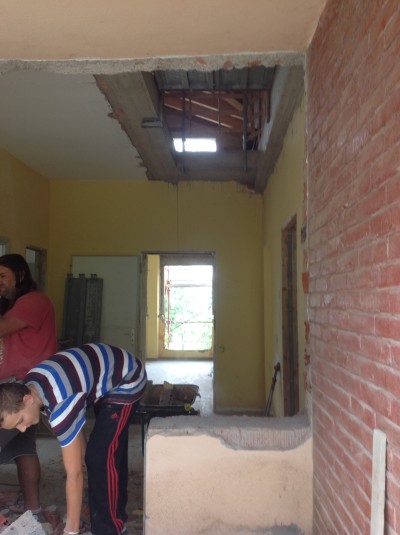
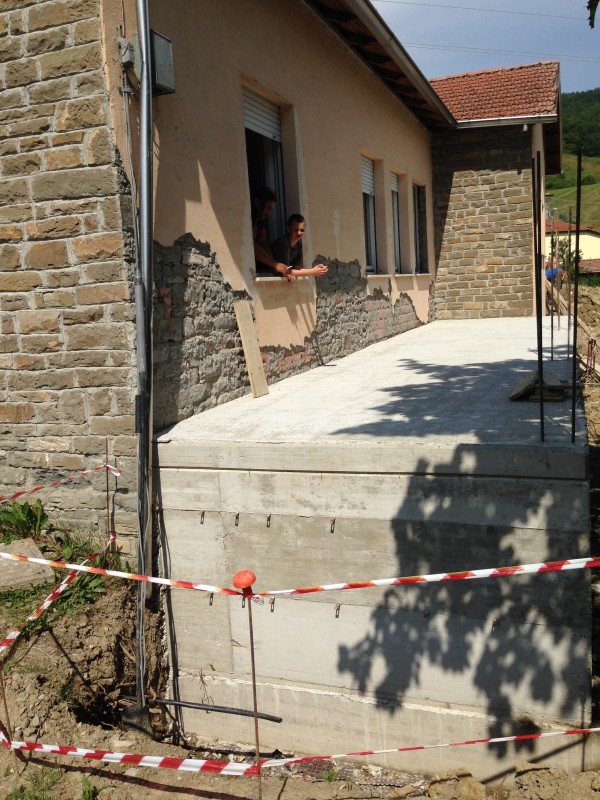
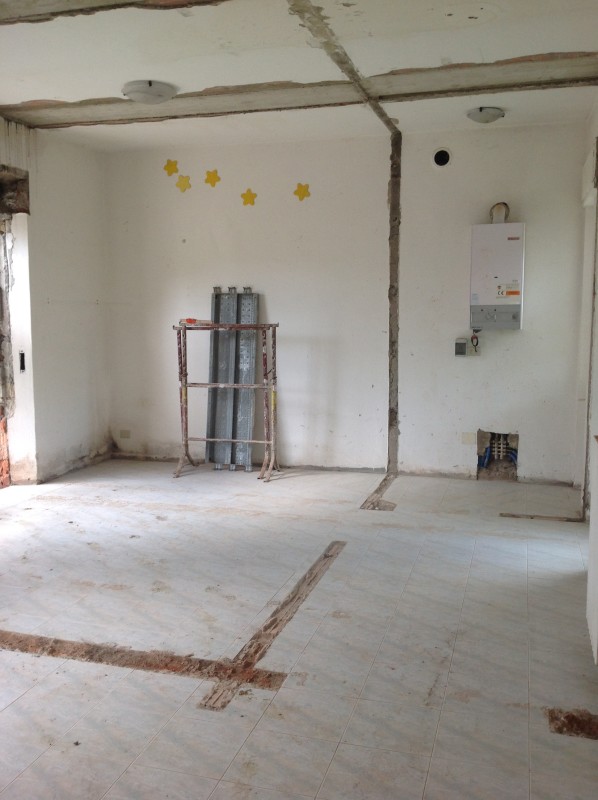
The new view looking through from the dining room into the kitchen.


IMG_6488

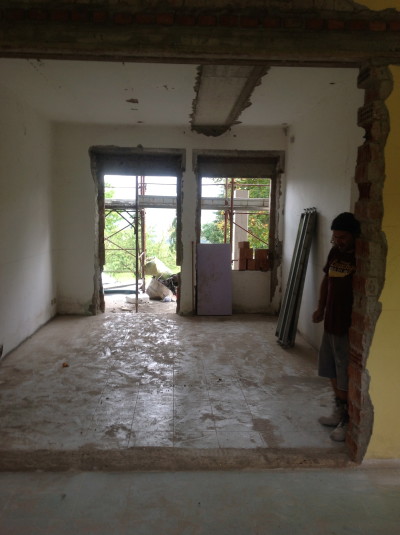
The new view from the kitchen into the dining room.


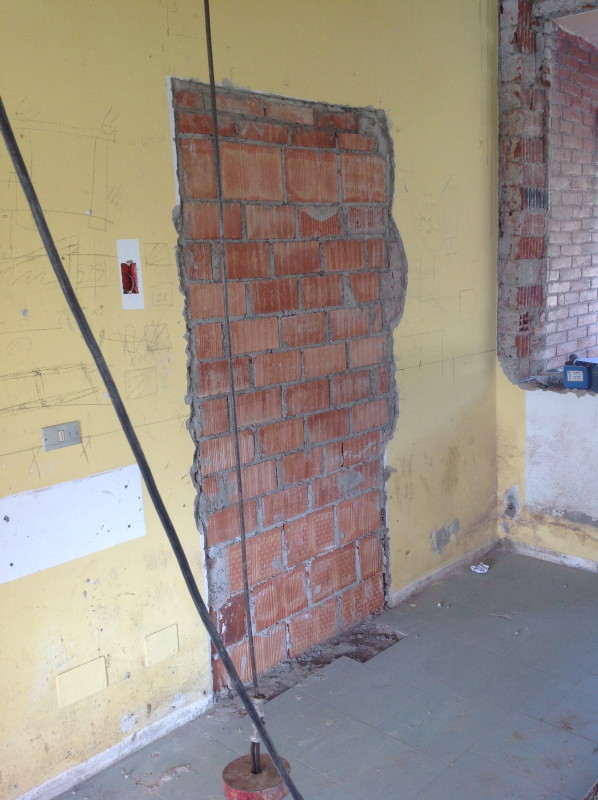
So after ‘windowgate’ and then making Rick brick back up a part of the wall between the dining room and the kitchen that he had already knocked down (to give me a bit more privacy at one end of the kitchen, it’s a girl thing)! I am probably know as ‘the pain in the arse’, but who cares I know what I want and having pondered and designed this house for the last three years I want it to be right, for me, for us, and most certainly not for a symmetrical view as you drive past the house!

Do you agree, keep the light, keep the window?


TAKE A MOMENT!

Since I moved to Italy I really appreciate my beautiful surroundings.

Where I live in a small town in Northern Italy we are surrounded by mountains.

I wake up and see mountains, clear blue sky and I breathe in fresh clean air.

Having lived in London for nearly 30 years I really appreciate this, as dingy, grey streets and polluted air are the norm in London.

As we all know there are many amazing parks, buildings and museums in London, but day to day life is normally quite damp, grey and rainy.

Of course it’s much easier to enjoy  these views when you have them on your doorstep.

All I’m saying is wherever you are take a minute to drink in your surroundings, smell a fresh flower, take one hand off your iphone/ipad to look around and see something of the beauty that’s around you. If you look hard enough wherever you are you’ll find it!

Take a moment. Allow yourself, you’ll feel better!

Go on, go for it………….


These are all photos taken locally in and around Borgo Val Di Taro, Italy, where I live.


IMG_0017

The sun setting, taken near Gotra.


IMG_0486

Overlooking the mountains in Brunelli, just down the road from our new house.


IMG_0073

The view from our dining room in the new house.


IMG_0085

A view of the mountains as the sun sets, from our sitting room in the new house.


Do you ever take a moment, or are you too busy?

NAVY WALLS?

Now comes the time when I actually need to start deciding on the interior colour of the walls in the new house.

Although I already know that it will be shades of grey, grey and more grey, mixed with white and lots of pops of colour. I want to bring some richness into some of the rooms.

I am thinking of having a dark navy which might be used somewhere in the boys room.

I used to have a massive aversion to navy as it was the colour of my school uniform. Even now I find it hard to like navy clothes!

However, I am feeling the fear of navy and embracing it as a dark and beautiful colour for interiors.


Here are some inspirations –


The navy works well combined with the fresh, clean, white wood panelling and the dark wood floor and table.


Navy Dinning Room

The navy works well combined with the fresh, clean white wood panelling and the dark wood floor and table.


Large artwork and pops of colour break up the expanse of navy.


deep-blue-walls-for-living

Large artwork and pops of colour break up the expanse of navy.


The black and white works surprisingly well with the navy chairs and wall.


69a5b1772fa2

The black and white works surprisingly well with the navy chairs and wall.


Another room that successfully mixes navy, white and different tones of wood.


deep-blue-walls-for-dining

Another room that successfully mixes navy, white and different tones of wood.


Well we will have to wait and see what I finally choose! I guess the boys have to like it also!

Do you like navy as a colour for interiors?


HOUSE RENOVATION PROJECT – PART 5, BOYS ROOM

This room will become the boys room!

Here they will have all the boys stuff, snooker table (for Rick)!, x-box, Wii etc.,

No access for girls (apart from cleaning and bringing in snacks no doubt)!!

Suits me! I will have my own room!


 This area was two bedrooms, a small single and a double bedroom. A boiler room and a corridor.

One of the two windows in this area has been knocked through into a door and leads out onto one end of the portico!


italy 2010 035

This was the small single room as it was before.


italy 2010 037

This was one end of the other larger, double bedroom, as it was before.


IMG_0041

A view of the corridor from the old boiler room.


IMG_0036

A view down from the dining room into the bedrooms and the corridor as it was before.


Knocking holes!


The first hole, knocked through into one of the walls.

The first hole, knocked through into one of the walls of the double bedroom.


IMG_1162

Robbie, happy to have finally made some holes!


IMG_5475

Seeing some progress!


The new open space.


IMG_5608

The new open space, you can see where the old rooms were by looking at the lines on the floor. This was the double bedroom and the boiler room.


IMG_5610

This window was knocked into a door that leads out onto one end of the portico.


IMG_5612

This was the small single bedroom. This doorway leads back into the dining room.


The Portico.


IMG_1018

The portico. This was before we (or should I say Rick)! knocked the window out, to make a doorway.


The view from the portico is beautiful.


IMG_1023

This is the stunning view from this end of the portico. One day the garden will look pretty, minus the builders van and piles of mud!


Next job – removing the wall between the kitchen and dining room!

HANDBAGS, WHICH ONES ARE YOU COVETING?

As the leaves fall all around me and my sandals move to the back of my wardrobe I have to admit that autumn is here!

It’s time to get into autumn clothes and bags.

O.M.G. why are there so many gorgeous handbags around this season! 
Saying that aren’t there always!

Here are some of my favourites:-

My two favourite colours combined, tan and grey from this Prada beauty.


Prada-Grey:tan bag FallWinter-2014-Ad-Campaign-7-600x384

My two favourite colours, tan and grey – what a combo!


Stunningly simple, Celine mustard bag.


1-Celine-Winter-2014-Ad-Campaign-Collection-2

Loving this elegant mustard bag, less is more!


This Gucci is the softest pink.


pink bag ,joan-smalls-gucci-fall-winter-2014-2015-1

This soft dusty pink Gucci bag looks good enough to eat!


Gorgeous soft, olive green Gucci bag.


Gucci- green handbags-2015-handbag-green-catalog-autumn-winter-2014-

Soft olive green Gucci bag.


Soft and sexy grey!


Flash

Soft, grey and big enough for all a girls essentials!


Love this Balenciaga bag, but I find the glove a bit scary!


Balenciaga grey bagFW 14 1

Love this bag with the gold trim.


I love this cute pale blue retro Gucci bag, and the jacket and the suit and the boots………………


gucci-Pale blue new image , models-fall-2014-ad-photos3

Cute retro pale blue bag.


                                                                                Prada / Celine / Gucci / Gucci / Prada / Balenciaga / Gucci
Lets face it the only grey thing that I will be getting is a grey electric garage door! Well it’s either that or a Prada handbag.

I know which one I prefer but I know which one I’ll be getting!

Well I wouldn’t mind any of these! (It’s my birthday soon)!!

Are you lusting after any particular bag at the moment?


HOUSE RENOVATION PROJECT – PART 4, SITTING ROOM.

Downstairs in what was the original house we have tried to keep things with minimal changes, apart from knocking down a couple of walls and changing some windows in to doors to make the most of the beautiful views, and allowing better access in and around the building.

In what will become the sitting room we have knocked two of the windows into doors to allow us to see the stunning view across the valley and the mountains. If we had kept them as windows the view could never be seen if you were sitting on the sofa, as the windows were quite high.

Outside the doors we are having glass Juliette balconies, this is for safety and the glass will help to keep the view interrupted.


IMG_0018

The windows at one end of the sitting room when we first bought the house.


IMG_0017

The windows at the other end of the sitting room.


IMG_0065

The external view of the three sitting room windows.


Gorgeous rainwater feature. Lets hope that dries up!


IMG_1167

The two windows being made into doors. What a gorgeous rainwater feature!


As the work started, the external view of the sitting room.

As the work started, the external view of the sitting room.


The middle window will be blocked up.


IMG_5604

Cleaned up and dried up, you can now start to see the amazing view.


The external view of the two windows which were lengthened to make doors in the sitting room!

The external view of the two windows which were lengthened to make doors in the sitting room!


The newly revealed view from the sitting room.


IMG_4796

The stunning view of the mountains from the sitting room!


We will be putting a wood burning fireplace along one wall and covering the chimney breast with these natural Quartzite stones tiles.


IMG_0009

Natural quartzite stones in tones of white/grey which will cover the wall around the fireplace.


This room will be for relaxing, reading and watching tv, a grown up sitting room.

The boys are having their own room, where they will have all the boys stuff, snooker table, x-box, wii etc,.

The next thing is to knock down some walls to make the boys room! That’s the next job.


Italian Carrara marble.

I love Carrara marble.  It’s such a beautiful and ancient stone, that was used for some of the most amazing buildings in ancient Rome. It was also used for some of the most famous statues, such as Michelangelo’s David.

Now that we live in Italy we are not so far from the city of Carrara, in Tuscany where the marble is mined.

I really want some in my new house, even just a small piece!


Below is one of the Carrara marble Quarries.


Massa_Carrara_Cava_Marmo , mines

Carrara marble mine in Italy, how amazing is that!


Stone distributors – O.M.G – this is my idea of heaven!

Wandering round and choosing which piece of mable for your project!


marble stone distributors.230-Slabs,

Stone distributors.


My first thoughts were Carrara marble for my kitchen worktops – a look that I really love.

Her are some inspirational kitchens with Carrara marble.


marble kitchen 1, balls kitchen-counter-knoll-600x830

Great combo of chrome and marble.


marble kitchen 2, wood and marble

I’m loving the wood which softens the marble island.


image 6, 3 brass lamops,Marble-kitchen-backsplash-contemporary-home

Brass lamps warm up this white space and tie in with the wooden countertop on the island.


imae 6 , blk pendant.Cool-Modern-Townhouse-With-Laconic-And-Clean-Lined-Interior-With-marble-kitchen-and-wooden-stools-and-wooden-flooring

Simplicity and a touch of metallic with the copper pan.


However with my love of cooking curries, where tumeric and other spices would leave their mark with white Carrara marble, it’s a shame but I will have to give the old marble countertops a miss!

I know that white marble is not good around lemon juice and red wine spills etc,. and quite frankly I don’t want to have to worry about these things.

I want to be able to enjoy my kitchen, and not be petrified that my gorgeous marble countertops will be ruined forever!

So I have gone for grey composite which is much more practical and still very stylish.

composite 2, 6369

Grey composite for the countertops.


My one concession to all things Carrara is that I am having just a little bit under my counter top sink in the master bathroom. Perhaps I will end up with the odd chopping board as well!

If I was a Kardashian I might have the budget for these stunning bathrooms!!


CP-Hart-bath , mirror image marble, free bath

Mirror image marble.


marble bath 2 all , free tub

All over marble.

marble bath 2-contemporary-bathroom

Full on, all over marble with some wood to break up the effect.


marble bath 3, White-and-Grey-Marbled-Bathroom-Livingetc-Housetohome

Mirror image marble including alcove for storage.


I will let you know what I end up with (it may be a marble rolling pin)!!

Do you like marble? If so which type?

Let me know!


HOUSE RENOVATION PROJECT – FIRST FLOOR AND ROOF, PART 3,

After the external walls were built, the main supporting internal walls were added, and then the builders prepared to build the roof.

Our roof is a mansard roof, which is very popular here in Italy. This is where the wooden roof is your ceiling. So instead of a flat ceiling you end up with a sloping roof which has a wooden underside. This can be stained to whatever shade you like or painted any colour.  

The roof went up really rapidly. The roof arrived in pieces much like a large lego set. By the end of day one all the main beams were up, it was incredible. By the end of the next day all the smaller pieces of wood that line the inside of the beams went up.

This completes the internal roof and the builders and Rick worked so hard to finish it in just two days that it was really dramatic to see.


rsz_img_1101

Rob admiring the view!

The first floor external walls going up.

 The first floor external walls going up.

The first floor external walls going up.

We must have the cleanest builders!

 The first floor external walls going up.

The first floor external walls going up, check out the view!

The interior supporting walls.

The interior supporting walls.

The interior supporting walls.

Mass, what a cool sweeper!

Mass, what a cool sweeper!

The beautiful view from one of the upstairs windows!

The beautiful view from one of the upstairs windows!

The main beams going up.

The main beams going up.

The main beams going up.

The beams finished at the end of the first day!

rsz_img_5556

The beams finished at the end of the first day!

The wood that lines the underside of the roof.

 The wood that lines the underside of the roof.

The wood that lines the underside of the roof.

 The wood that lines the underside of the roof.

The wood that lines the underside of the roof in our bedroom.

The finished roof. Amazing in two days!

rsz_img_5617

The finished roof, looking through the top floor of the house.

Now we we able to get an idea of the scale and height of the upstairs. Although the sides of the house are only two metres high the apex is three and a half metres, so it feels spacious.  Above the wooden underside of the roof there are many layers of ash felt and insulation.

The next step is to mark out the internal walls. I designed the upstairs rooms ages ago, but as the builders pointed out when we see it in the flesh we might want to move things slightly.

I can’t wait!

Watch this space for more updates!


BEAUTIFUL OLD ITALIAN DOORS

Italian doors fascinate me! I love the shapes, the patterns and the colours of the wood. The surrounding ironwork is always elegant and ornate and as far as I’m concerned the most beautiful doors are the aged and battered ones.

Below is one of my pencil sketches of a door  in my town – Borgo Val Di Taro.

Below are some of these stunning doors, from my town and also the local, picturesque medieval village of Compiano which has an amazing castle!

Image 3

This door has wonderful stonework and great quality wood.


Image

This door has it all – Lions, carvings and lots of knobs and knockers!


Image 2

This door has traditional strong lines.


Image 4

This door is elegant with a simple design.


Image 1

This simple door is set off by the ornate juliette balcony above.


rsz_image_-_version_2

My pencil sketch of a door in my town of Borgotaro.


These doors are in the medieval castle village of Compiano.


rsz_dsc06461

Traditional shapes with statement pots.


rsz_dsc06463

Delicate wood patterns at the bottom.


rsz_dsc06464

This door has soft colours and intricate ironwork at the top.


rsz_dsc06466-1

This door has a stunning pattern on the ironwork.


This last door is one of my favourites, the wood is aged and the metalwork is so intrcate and delicate, it looks like its been there forever……(did you notice the orbs on the photo)?

Do you have any favourite doors in any other cities or towns?


FILL THIS SPACE WITH ART – WHICH PAINTING DO YOU PREFER?

This is a fantastic space that I think would look great with one of my paintings hung against the back wall, to the left of the chandelier.

This is a grand  room with intricate cornicing and elegant french doors that are highlighted by the ornate balcony railings.

The monochrome  palette is accented by a splash of citrus on the sofa, and the scheme is lifted by the clash of pattern on the black, white and cream a rugs – diamond print and zebra.


http-::1.bp.blogspot.com:__KYRnXoefVg:SYEodH_paMI:AAAAAAAABls:bBEUfT_9fOo:s400:Jenna+Lyons

Stylish room in black, white and grey colours, with a splash of yellow.


Which illustration of mine do you prefer to go into this monochrome room,

Sassy monochrome lady or Cruella Deville? Let me know!


Q18A7967_248by330size

Sassy monochrome lady?


Q18A8394_248x330

Cruella Deville in white jacket?


When you buy art do you chose the art to fit into the room, or the room to fit around the art?


HOUSE RENOVATION PROJECT – PART 2.

The house is progressing rapidly.

Our builders are four brothers who work together – Domenico, Giuseppe, Salvatore and Antonio.

They are a great team and are doing a fantastic job. And they get along well with Rick, (my husband) who’s helping them when he’s not doing his own work! They  all seem to have a laugh and can’t resist posing for the camera!

First they dug out a huge hole for the garage to be built.


rsz_img_4871

Swimming pool or garage, That is the question? I know what the kids would prefer and it would be a different answer from my husband, Rick!


rsz_1img_0860

Boys and their toys! Digging out the last bit for the garage, who needs a Ferrari! So easily pleased sometimes!


The garage will fit two cars, lengthways.


rsz_img_0902

The foundation for the garage.


rsz_img_1004

Finishing the walls on the garage.


Then we added a portico!


rsz_img_1020

Robbie standing on the new portico.


rsz_img_0920

Here is a picture of my boys working really hard ( for about 20 mins)! Bless it’s a rare occurrence! After boredom set in they went off to play and explore the mountains (piles of mud)! in the back garden and field.


The scaffolding went up and the roofs coming off, ready to add the new first floor!


rsz_img_1027

Domenico one of the builders, he can’t resist a pose!


rsz_img_5019

The scaffolding’s going up!


And then the roof came off…….


rsz_img_1034

The old roof comes off ready for the new first floor.


Anyway the progress on the house is fast and after the upstairs floors were reinforced for seismic (as we get earthquakes here), scary I know! Then the opening for the stairs was knocked through.


rsz_img_1090

The upstairs floors were reinforced for seismic (as we get earthquakes here).Then the opening for the stairs was knocked through.


Now we can really see the size of the first floor!

Have you done any building work on your house? If so how was it?

I’m loving it, probably because I’ve waited so long for it to start. I’m over the moon to even see a brick layed!